Follow along as we paint a step-by-step watercolour mountain! Painting mountains with watercolour is relatively easy, you just need to keep in mind the placement of highlights and shadows.
Since no two mountains are exactly alike, you can feel free to let your imagination do the work and not worry so much about finicky details.
This is a really great project to try as a beginner watercolour artist as it will teach you about values and placement.
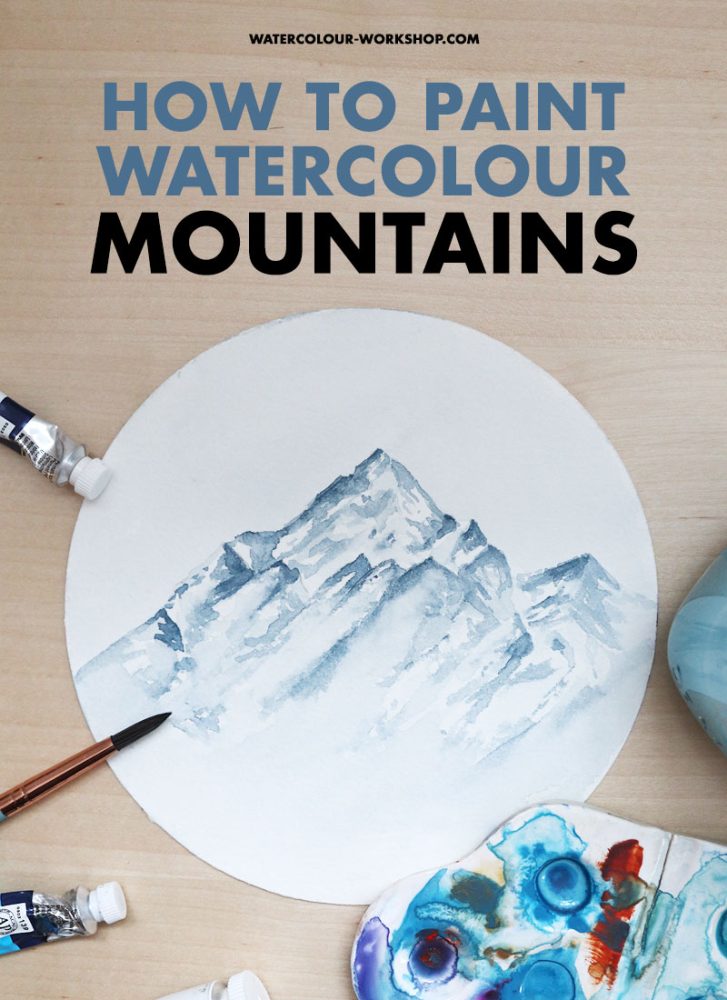
There are various ways to paint mountains with watercolour, and this is just one method that I like to use.
I’ve tried to make this tutorial easy to follow, so even if you are a beginner you should be able to accomplish it. If you’d like to watch the video tutorial I created for this piece, you can watch that here too.
Supplies you’ll need
- One colour of watercolour paint (I used Indigo)
- Your choice of watercolour paper (what paper should you use?)
- Round #6 and #8 watercolour brushes
- A pencil and eraser
- Clean water
How to paint a watercolour mountain
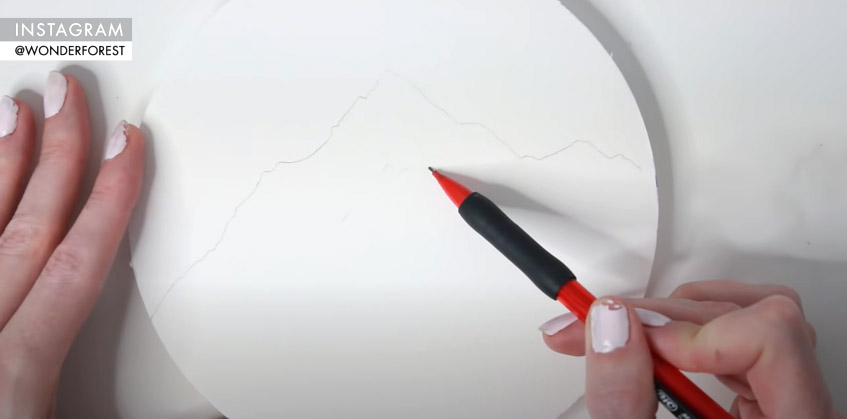
To begin, lightly sketch a jagged line which will be the top of a mountain. You can use reference photos of mountains to see the peaks and valleys. The idea here is to create somewhat of a silhouette of the shape. You can decide where you want the ridges to go and where you want some of the peaks to be.
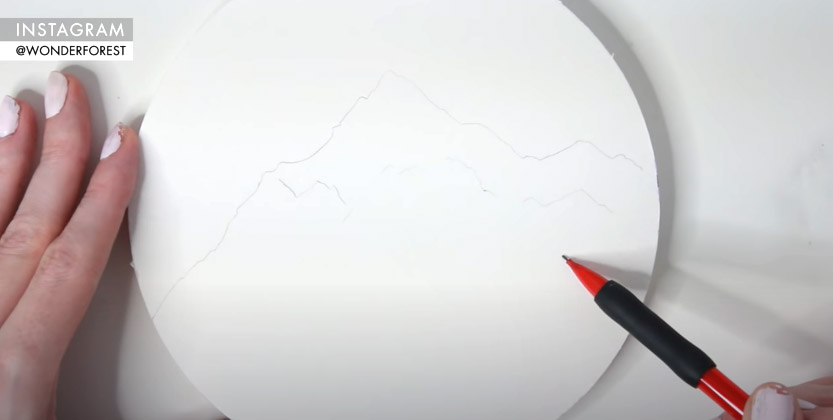
Now in the center of the mountain, sketch a couple of ridges/peaks so you have a slight idea of where you want to paint these in.
Painting the background
For this painting, I am using Indigo because I think it’s a very nice cool blue that can obtain both light and dark shades really well. It also has a “cold” look to it which compliments our mountain theme wonderfully.

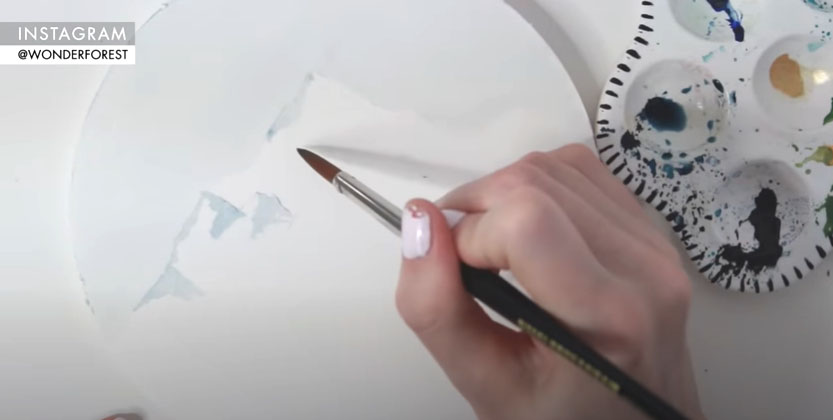
Using a diluted (watered down) mix of the Indigo shade, fill in the background/sky area of the mountain. Be sure to use the tip of your brush around the jagged edges of the mountain.
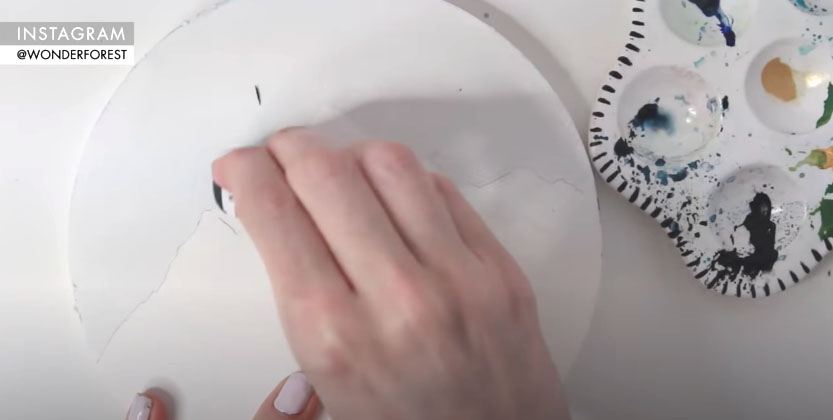
Now take an eraser and erase the top line that you sketched. Since you have the background painted, you should be able to see the separation of white paper and sky, so the pencil line shouldn’t be needed.
Painting your watercolour mountain
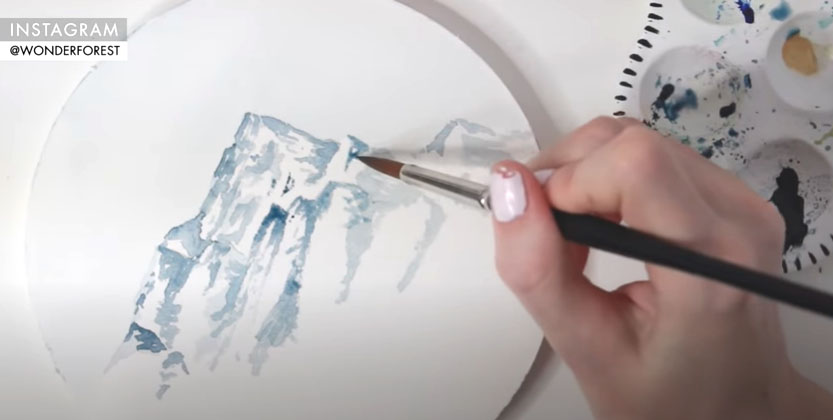
Using a larger brush like a #8 round brush, mix up a darker shade of Indigo. Now you will begin applying the colour to the areas of the mountain that you want to appear recessed or in shadow.
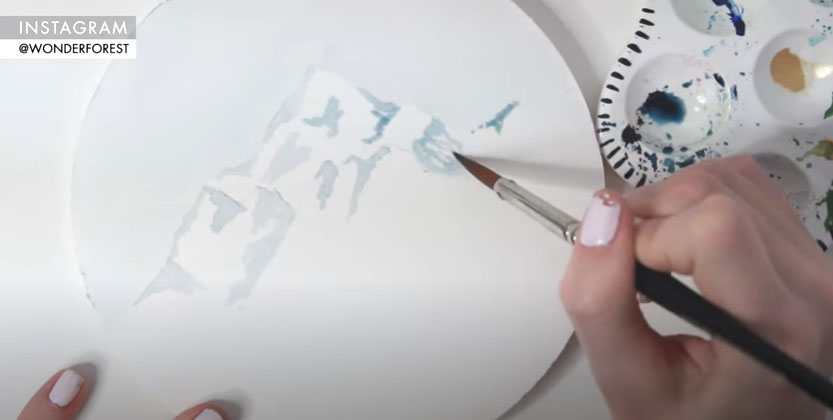
Begin with the tops of the mountain peaks and try to think in terms of three dimensional objects. If you were staring at this mountain in real life, which parts of the mountain would be closet to you and which would be farthest away? The parts that are farther away are going to be a darker colour.
For the tops of the mountain, imagine them as triangles. One side of the triangle will be shaded while the other will not.
One thing to keep in mind is to try to keep the same angle of painting throughout the valleys/recessed areas. You can see in the image that the blue I’ve painted is all done on a diagonal axis. This is what would happen if the sun was hitting one side of the mountain and casting shadows — so it makes it a little more believable.
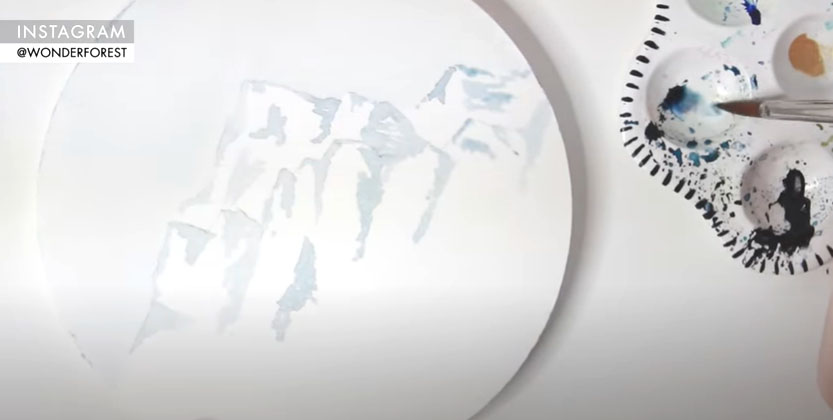
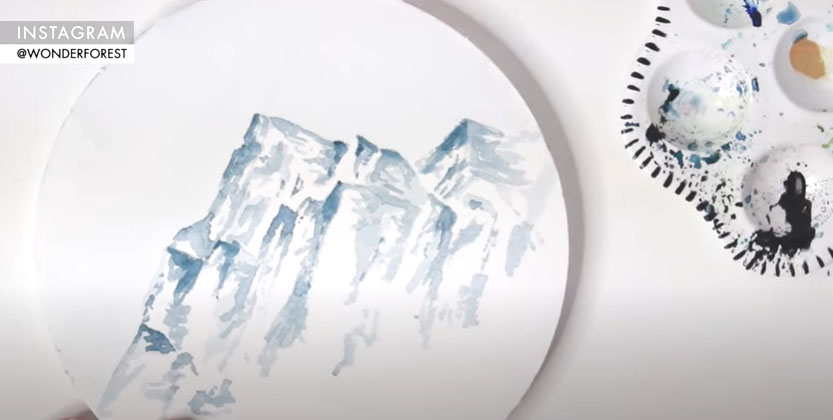
Now that you have your dark areas in place, let the paper dry then go over them with an even darker mix of the Indigo. Try to keep your brush strokes loose this time and use the tip of your brush for details.
In my painting, I’m not putting much pressure on my bristles at all. I am simply trying to close up a little more of that white space with texture and fine details as I go. I like to sort of drag my brush downwards to create almost a dry brush effect.
Continue to close up more of that white space with jagged lines and singular little dots as you go. As you start to layer your paint, you’re going to start to see this all come together.
Time to refine!
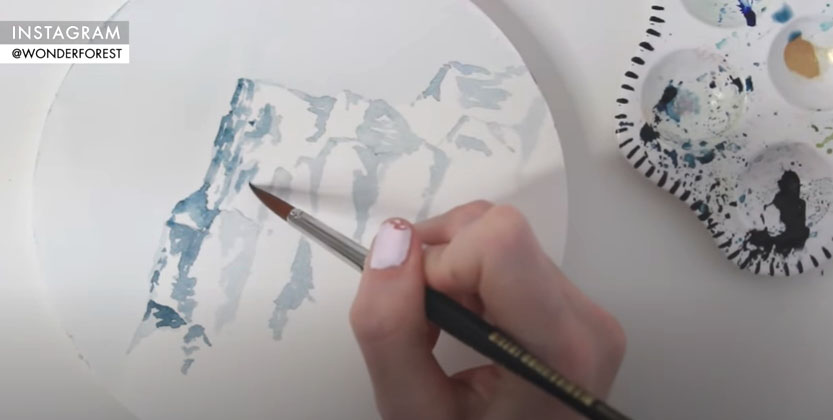
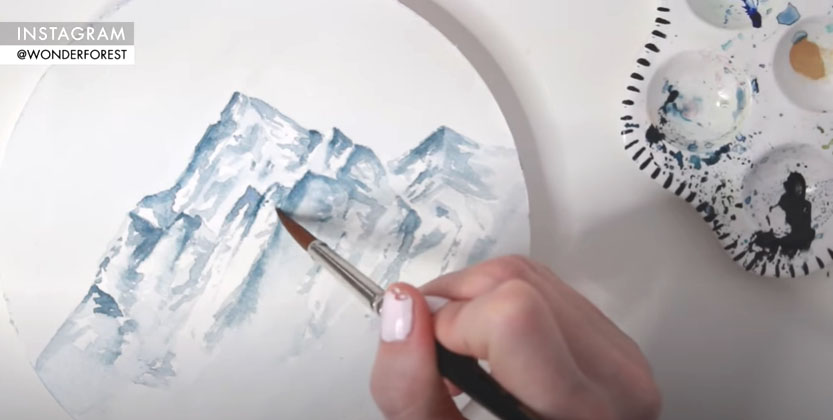
Once everything is dry, go back in with an even darker shade of Indigo to really make those dark areas pop.
Now that you’ve filled in the majority of dark areas, it’s time to focus on the lighter areas.

You’ll want to apply a very light wash of your Indigo shade to some of those white areas, while making sure not to cover them up completely. Apply this shade around some of the darker areas in more of a “swooping” motion and try to keep your diagonal angle as you paint.
Go through your entire piece, adding the light wash to the white areas. Leave some areas white for highlights. If you feel like some areas need a little more contrast, feel free to darken the wash a little bit.
Now you can start adding in any final touches. You can darken some areas a little more to define them better if needed.
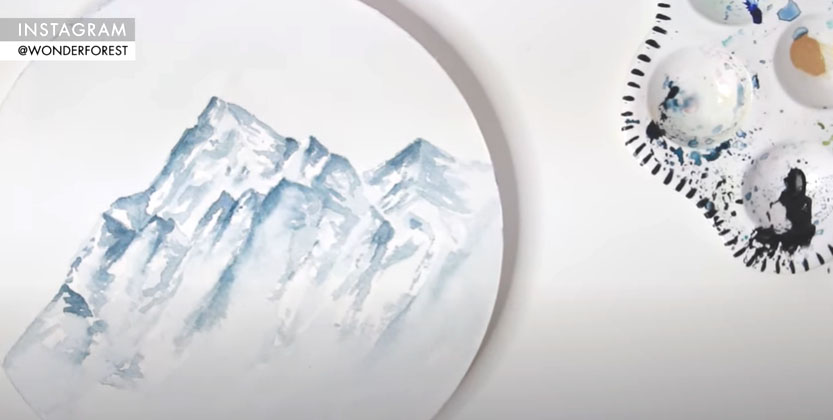
And that’s really all there is to it! If you enjoyed this tutorial, please consider sharing it with someone else who would enjoy it too!
Pin this!

Besides being a wife and mama, I’m an entrepreneur, artist and author of the Watercolor With Me book series. I’m from Ontario, Canada and founder of the brand Wonder Forest. I’m here to help you on your watercolour journey!
This watercolor looks so easy!
I’m so glad you think so! It is!!
J’ai hâte de peindre ça. Merci tellement pour ce beau tutoriel. J’aime beaucoup tes livres et ta façon d’expliquer. J’ai commencé l’aquarelle grâce à toi. Un gros MERCI.
Merci cela signifie beaucoup!