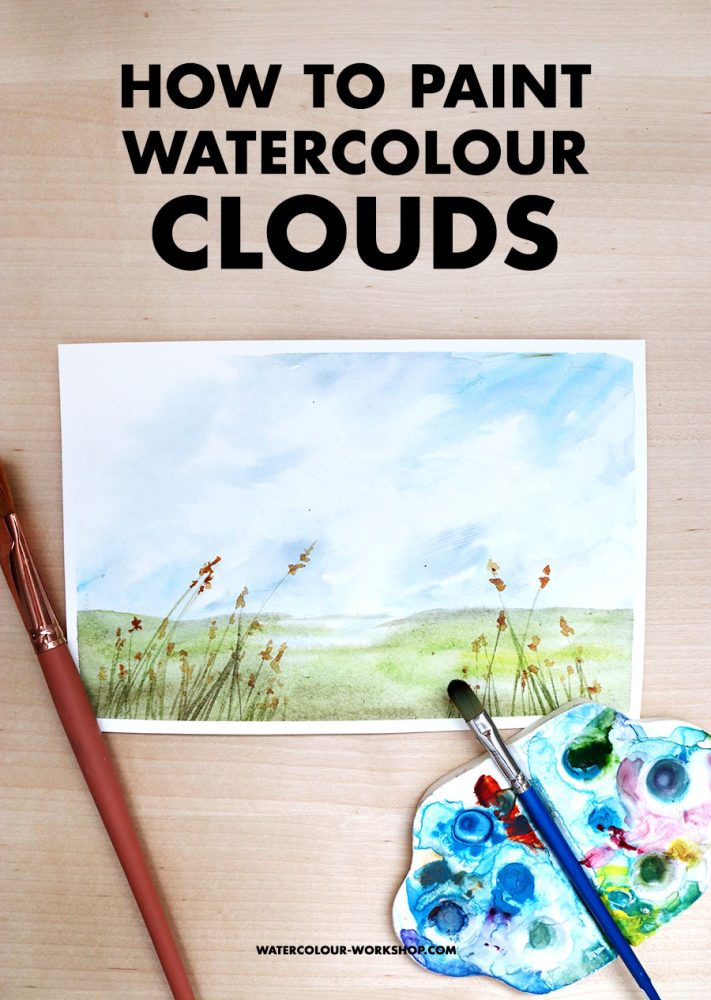
If painting watercolour clouds is a technique that you want to learn how to master, here is one of my favourite ways to create wispy, realistic clouds with watercolour.
We’ve already painted mountains, and we’ve mastered painting water in watercolour, so let’s keep with the landscape theme and try some soft clouds.
Painting clouds is something anybody can do, whether you’re a total beginner or experienced artist. There are various ways to achieve the look you want through lifting, glazing, or using mixed media. In this tutorial, I’ll show you how to paint watercolour clouds using a flat brush, some paint, and wet on wet techniques.
If you want to watch the video tutorial I made for this project, you can view that here too.
Supplies you’ll need
- Watercolor paper of your choice (what paper should you use?)
- A flat brush like this one
- A wash brush like this one
- Masking or washi tape
- Clean water
- Tissue
- Blue paint of your choice (I used Indigo and Cerulean Blue Hue)
- Additional paint colours and brushes if you want to incorporate a landscape
How To Paint Watercolour Clouds
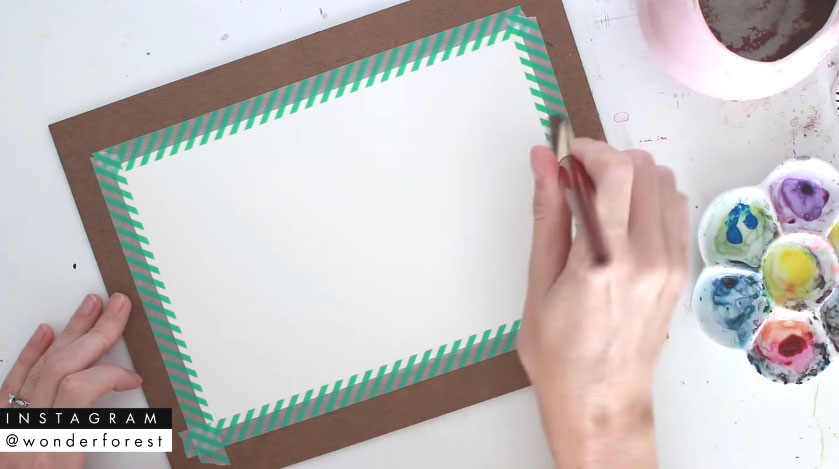
Let’s start by making sure your paper is secured to a hard surface or board using masking tape or washi tape. This will help the paper stay flat while we create wet into wet washes.
Using a flat wash brush, wet your paper with clean water. You want the paper to appear damp with a sheen to it. There should not be any puddles of water or dripping happening when you tilt your paper.
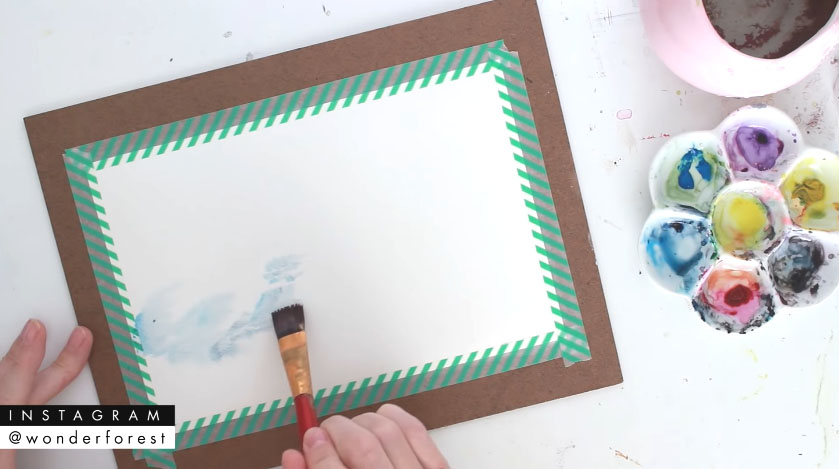
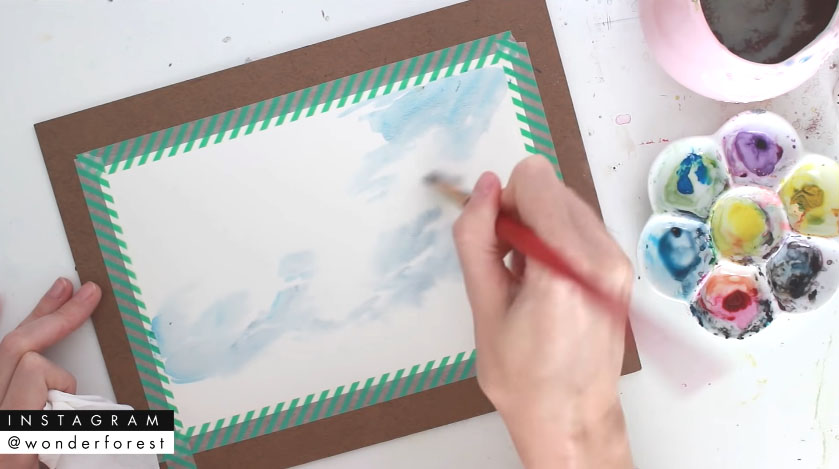
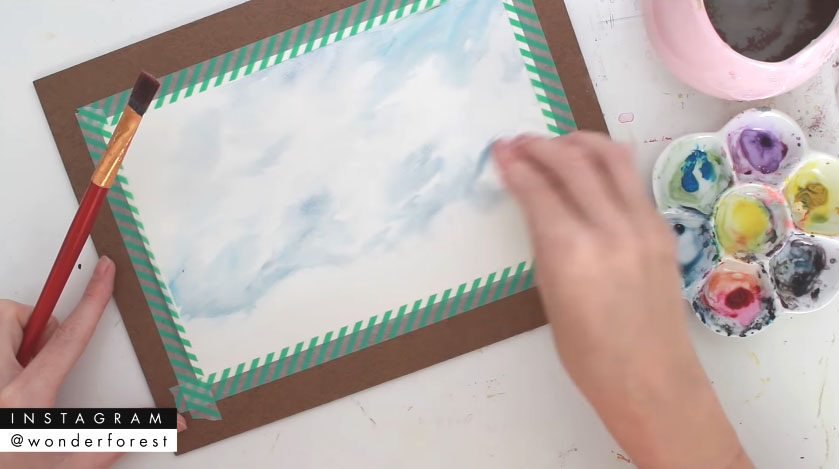
Using a mix of Indigo and Cerulean Blue Hue, start applying paint to the paper using a flat brush. Use short brush stroke motions and try to keep the brush horizontal as you glide it along the wet paper.
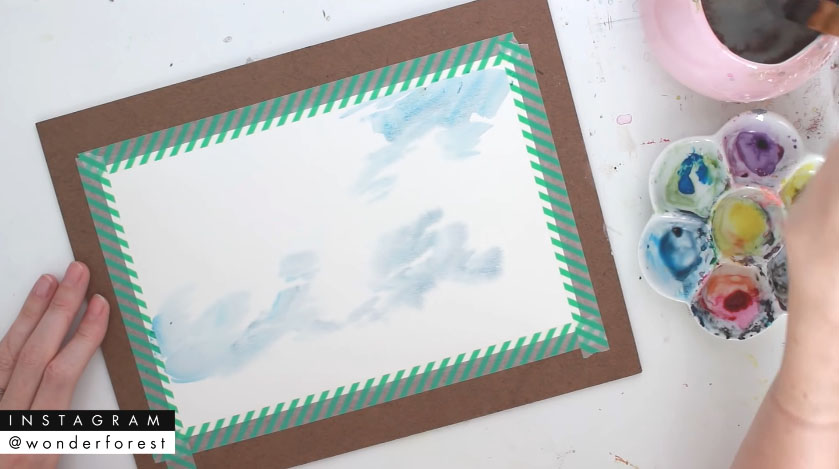
Because the paper is damp, the edges of the paint should blend out nicely. The overall idea is to think about this as if you are painting a negative. Since the clouds are white, we will be painting the sky around the clouds as opposed to the clouds themselves.
Blend those edges
Using a dry brush, you can blend out some of the edges of the blue painted areas with wispy motions and a light hand. The paper is still damp at this point. This is a great way to achieve windblown, wispy tails on your clouds.
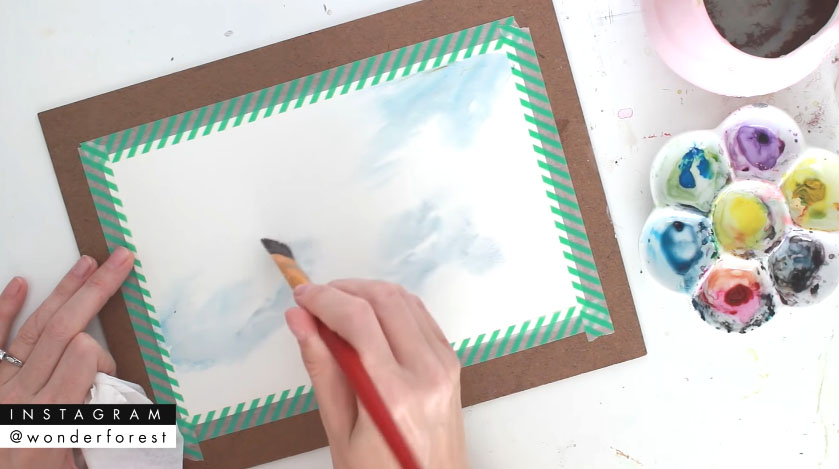
You can also add a touch of water to your dry brush and blend out the edges a little more that way. Work the paint in short, wispy motions to achieve the look you are going for.
Work in sections
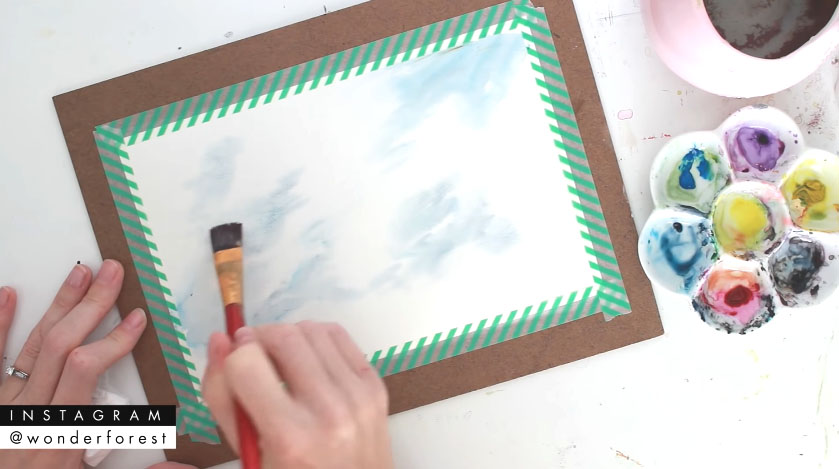
I find it easiest to work pieces like this in sections. So now that the initial sections of sky are completed, you can apply more clean water to the remaining white sections of the paper to re-dampen them a little bit.
In the image above, I have re-wet the top left corner area and am now working on that section using the same mix of colour and same brush technique.
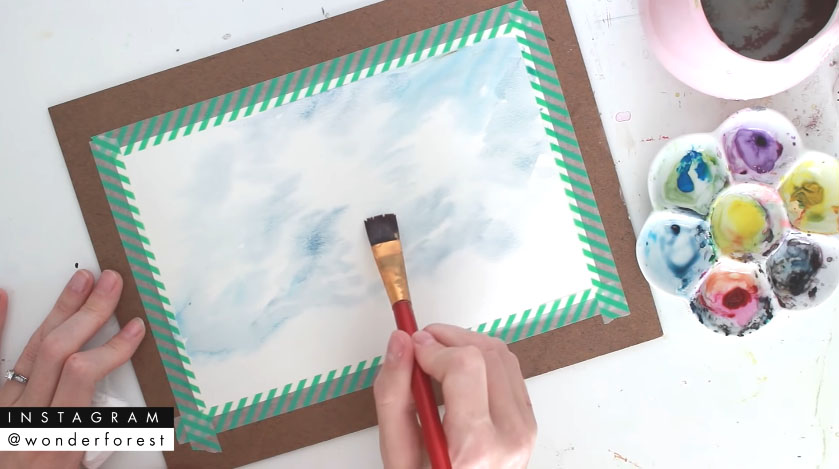
Add in a little more of the Indigo to your paint mixture to create darker areas of sky. Continue moving the paint around the edges the same as before to blend them out. Remember not to cover too much of the white paper because those will end up being your actual clouds.
Now take a tissue or piece of rag and blot around some of the clouds to lift the paint from the paper wherever you want more of that paper to appear.
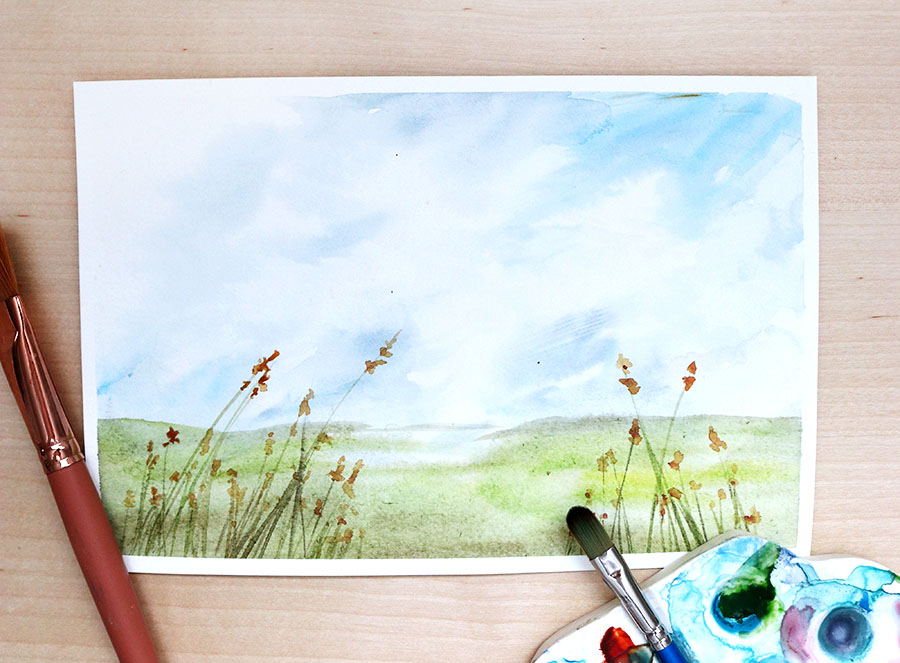
Completing a landscape
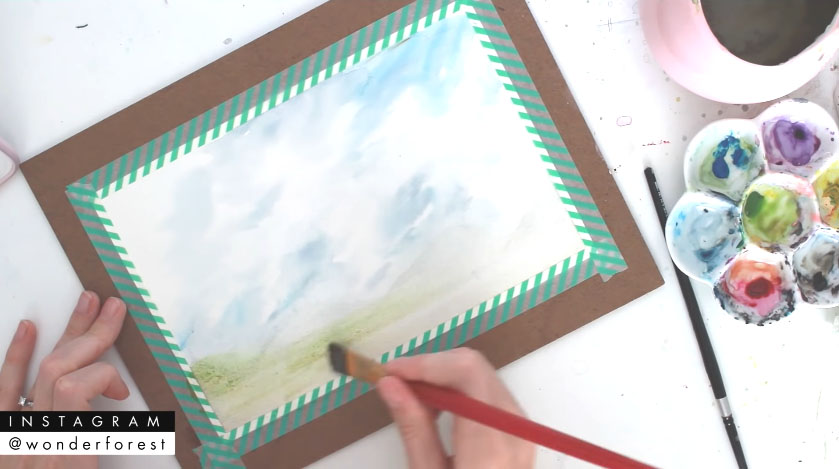
When your clouds look satisfying, it’s time to fill in the rest of the painting! I decided to create a field scene, so am applying Sap Green mixed with a little Burnt Umber to create the bottom landscape. I wet the bottom of the paper first and I am applying that with the same brush in horizontal brush strokes.
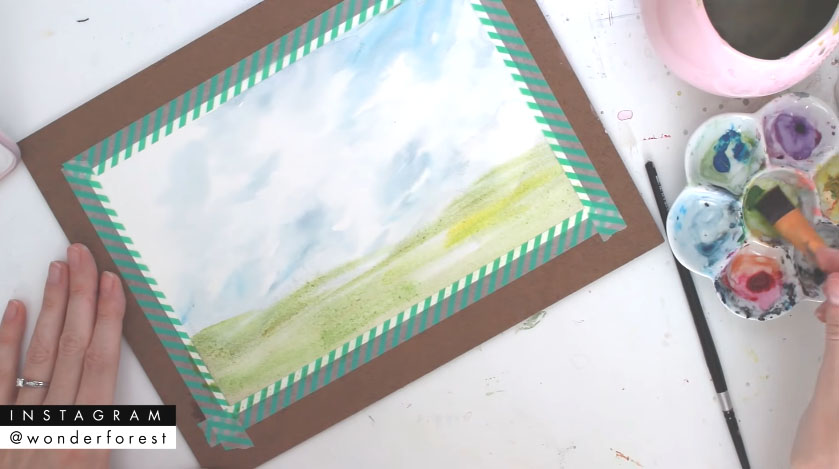
I wanted to create varying shades of greens, so added in a little Medium Yellow to the mix. You can create the landscape however you want, so use your imagination!
I added some Burnt Umber toward the bottom of the paper to create the illusion of shadows, and am now using the tip of a #6 round detail brush to create some long grasses in the foreground.
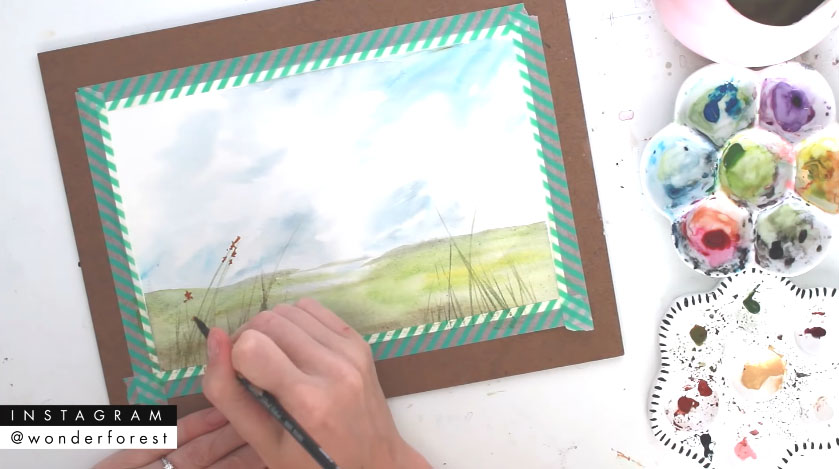
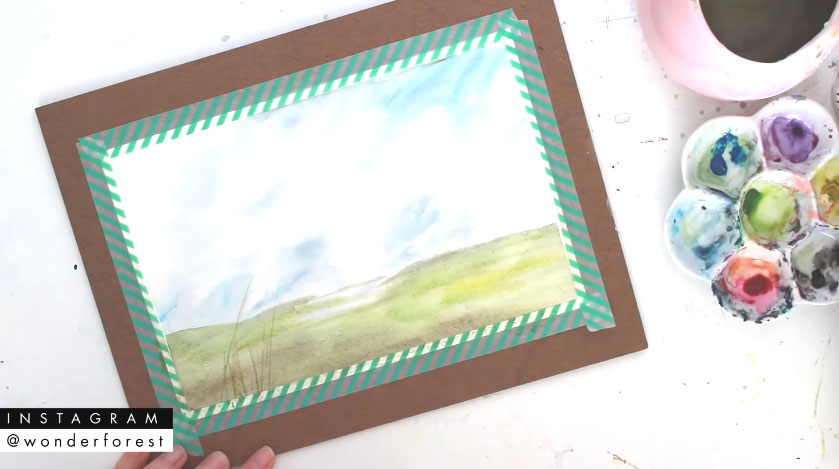
Using a mix of Indian Red and Medium Yellow, I am dotting on some bits of colour to the grasses.
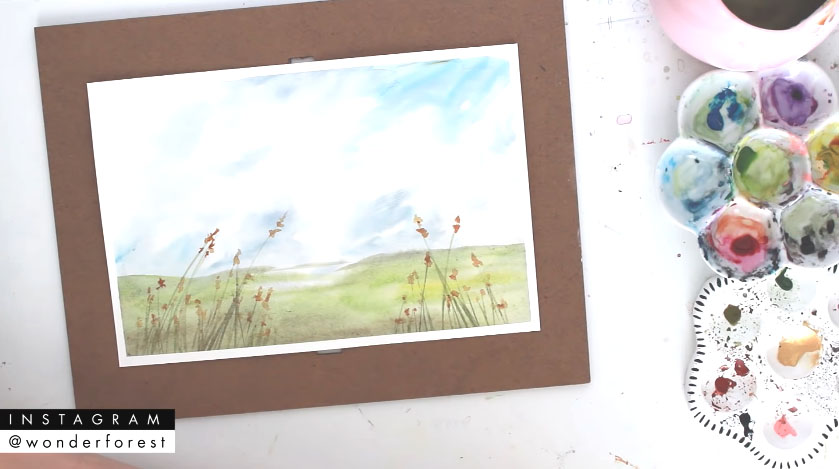
And that’s all there is to it! How did your painting turn out?
Pin this:

Besides being a wife and mama, I’m an entrepreneur, artist and author of the Watercolor With Me book series. I’m from Ontario, Canada and founder of the brand Wonder Forest. I’m here to help you on your watercolour journey!
Thank you D’ana,
Its just what I need.
You explain so clearly.
To name the coulors you use, makes it all work. To say think “negative” is spot on. You have to revers your thinking,
I really dare have a go now.
Very clear information
Rigtig godt vist og forklaret 👏. Mange tak !