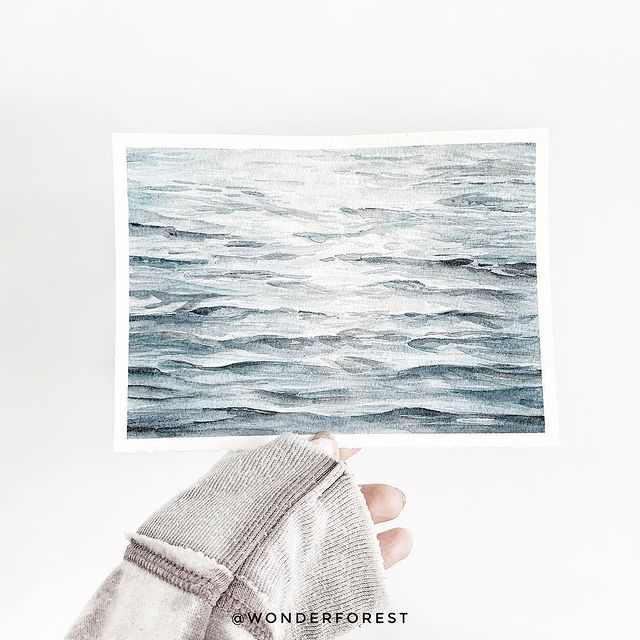
Painting water in watercolour can be an intimidating thing to accomplish. For a while, I avoided painting water because it seemed like every time I tried, it would always turn into a huge blobby mess of blues and muddy shades.
How do you create those flawless washes that look like water? Where do I place the shadows and highlights? How do I create perspective in my painting? How do I make water appear realistic with watercolour? If you’ve wondered any of these things, you’re in the right place.
The thing with painting the ocean in watercolour is that it takes practice and patience! For some of us, patience is hard to practice, but trust me when I say that it’s worth it.
It took me a while before I was even comfortable creating a tutorial on painting water because I wasn’t super confident in my abilities to do it well. It was always one of my most requested watercolour tutorials, so it was definitely something I wanted to try to master before sharing a step by step.
There are many different ways to paint water, but I found this way to be pretty easy for anybody to grasp. If you’ve ever wanted to paint a lake or water using watercolour paints, hopefully this step by step painting tutorial can help you out.
If you’d like to watch the video version of this tutorial, you can find that here. I’m going to break it down here in easy to follow beginner watercolour language so that you can follow along as well.
Supplies you’ll need:
- Cold pressed watercolour paper
- Indigo, Ultramarine, and Turquoise watercolour paint (or any blue shades you like!)
- A flat wash brush
- A large round brush
- A smaller round brush (#6 works well)
- White gouache/ink/acrylic for highlights
- Clean water
For this tutorial, I used Indigo, Ultramarine, and Turquoise tube paints from Winsor & Newton.
How to paint water with watercolour tutorial
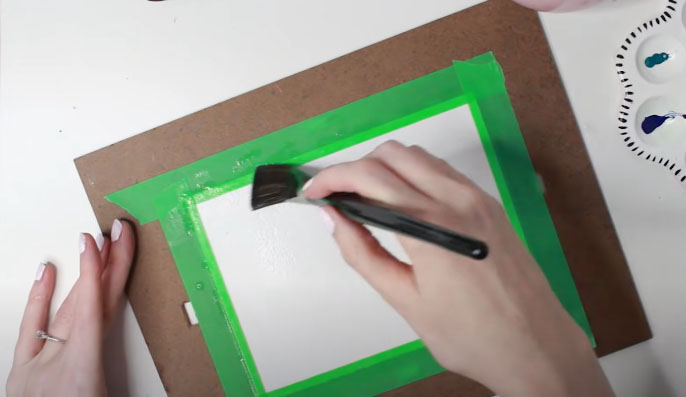
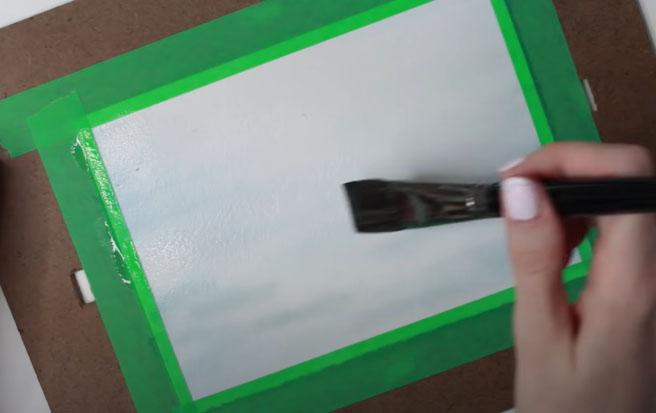
Start by wetting your paper completely with a wash brush and water. You’ll want the paper to be damp and have a sheen to it. Be sure not to have any puddles or too much water on your paper before beginning.
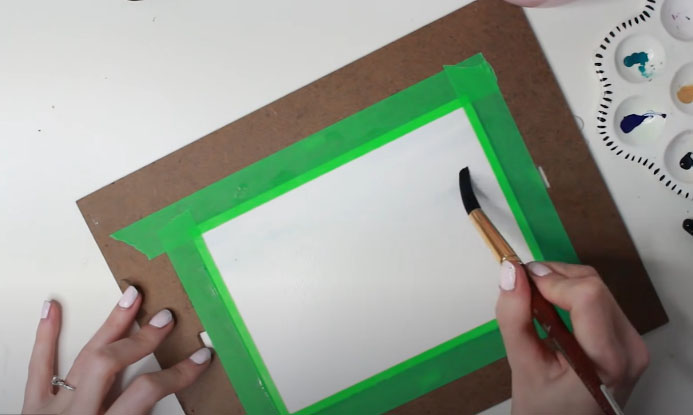
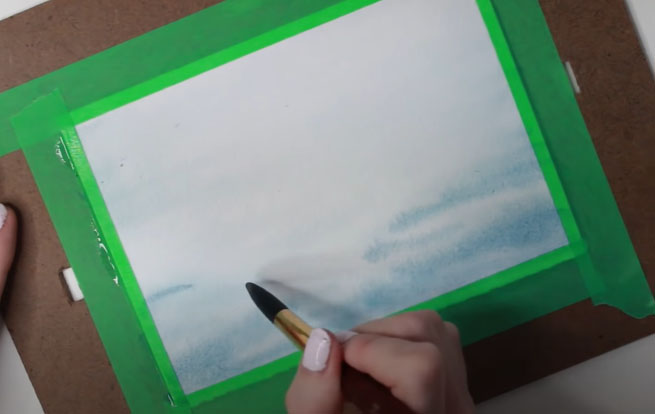
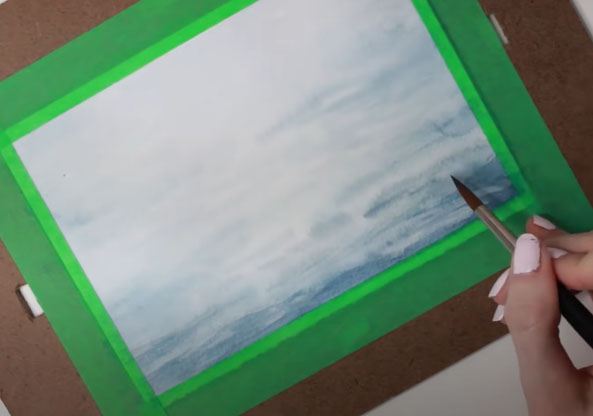
While the paper is damp, use a large round brush with a mix of Turquoise and Indigo and create a really light wash of colour on the paper.
Using horizontal, straight strokes, brush the light wash of colour back and forth onto the paper to create the base of your water. Be sure to leave white space in between your strokes so your paper isn’t a solid wash, but more like ripples in the water.
Concentrate the colour on the left and right sides of the artwork to allow for a lighter, sunlight reflection in the center area.
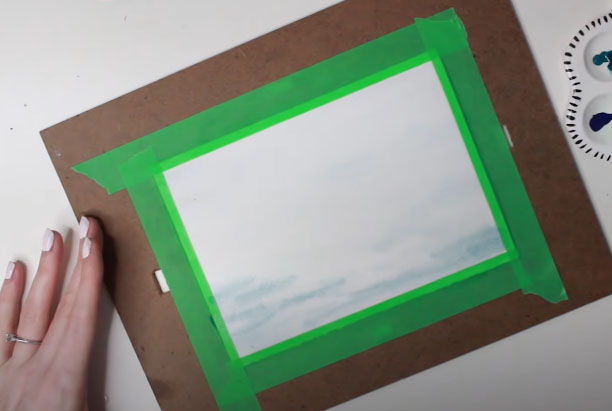
While that layer is still damp, go back in with a darker mix of Indigo and apply it to the bottom section in the same way. Since the paper is drying slightly as we work, it’s going to allow for the paint to grab onto the paper a little better and create a more concentrated wash.
Let the paper dry completely. Your artwork will appear lighter now that it’s dry, because that’s just the nature of watercolour!
Now re-wet the entire painting with a light wash of water. Use a light hand to do this and be sure to only create a sheen on top of your existing painting.
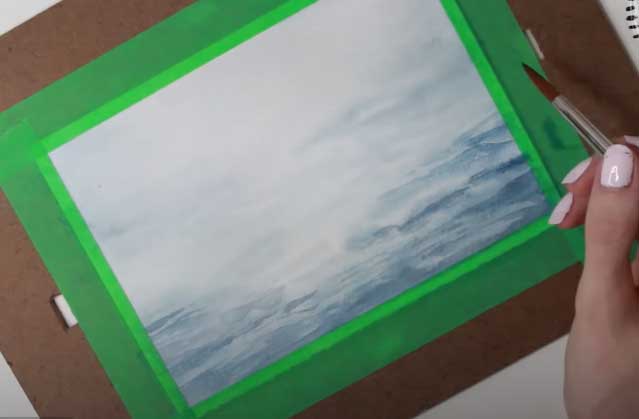
Using Indigo again mixed with a little Ultramarine Blue, darken the ripples in the water by applying the paint in straight strokes again. This time, take your time and think about where you want them to go. Remember to leave white space between them so you don’t end up with a flat wash.
Basically, you’re darkening those areas that you want to appear in shadow while leaving some of that white paper exposed to accentuate the highlights in the water.
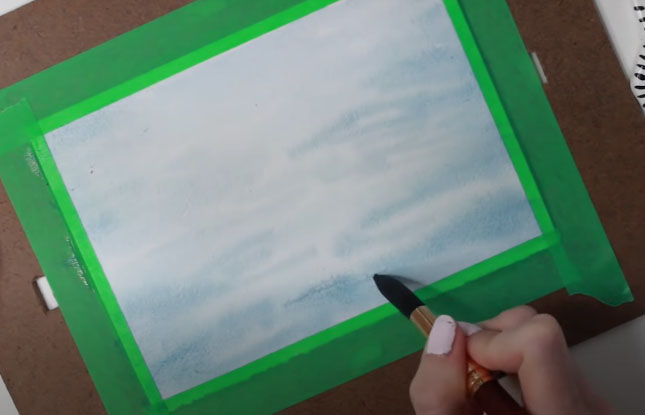
Continue adding strokes to the left and right sides of the paper, leaving the center area lighter as before. Using a darker mix of your paints (less water added to them), keep darkening the bottom (foreground) of the painting to add perspective.
The closer the water is to the foreground, the larger and darker the ripples will appear. In contrast, the farther away the water is to us, the smaller/tighter and lighter the ripples will appear.
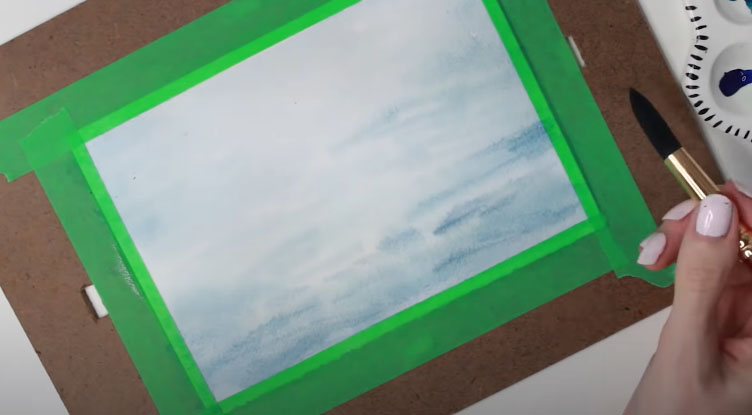
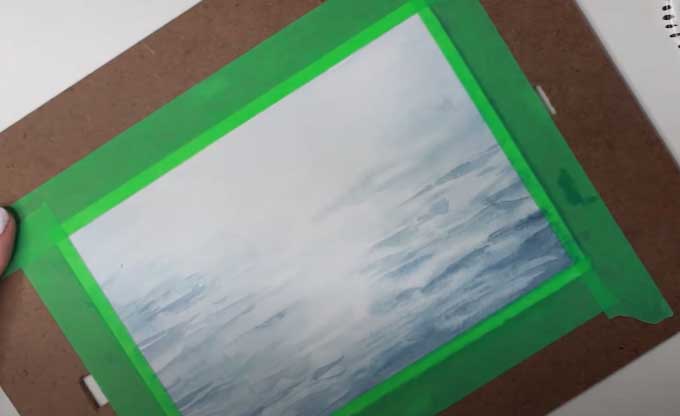
Continue working on adding strokes of blue to your painting. Use the tip of your brush to create thinner strokes as you near the top of the paper. This will help the ripples to look farther away and smaller.
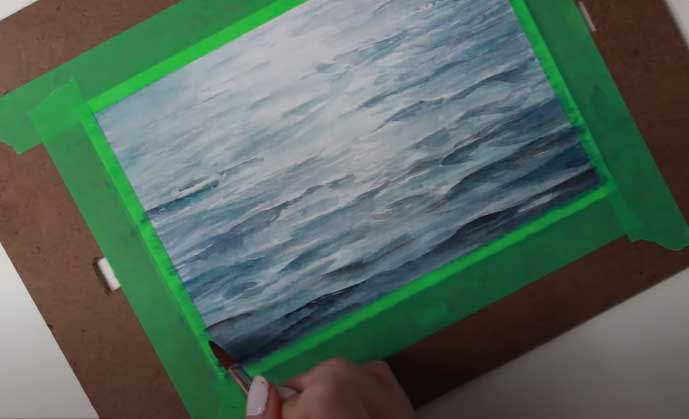
Let your painting dry completely and then switch to a smaller brush, like a size 6 round brush. You’ll use this smaller brush to define the ripples using the same Indigo shade as before.
Create strokes of different size and widths by using both the tip of the brush and the belly of the brush as you paint.
Focus on adding strokes to the bottoms of the darker wet strokes you painted previously. Try to keep the tops of the previous ripples white.
If you need to soften some of your strokes, take a wet brush and dry it off just a little bit, then run it along the hard edge of your stroke to blend out the edge.
At this point you should be able to see the painting coming together. We are still going to add some more layers and shadows and highlights.
Now that you’ve pretty much established where your darker tones will go, define those areas even more with the same Indigo shade. You can be a little more loose with your strokes and lighter with your hand.

Add more strokes in the lighter areas with a lighter wash of your paint to break them up from the stark white of the paper.
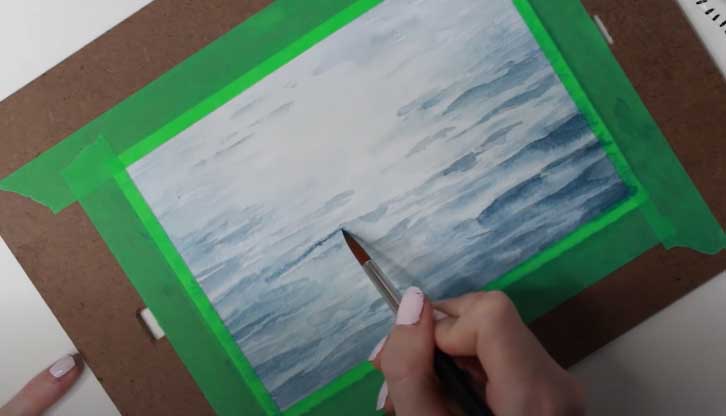
As we near the end, mix a little bit of Lamp Black with your Indigo to create an even darker shade of paint. Apply this to the bottom section of your painting, redefining the water in the foreground.
This is really going to allow some of those ripples to stand out because the contrast between the dark and the light is more extreme. To define the ripples, you’ll want to try to place the darker strokes right below the lighter ones.
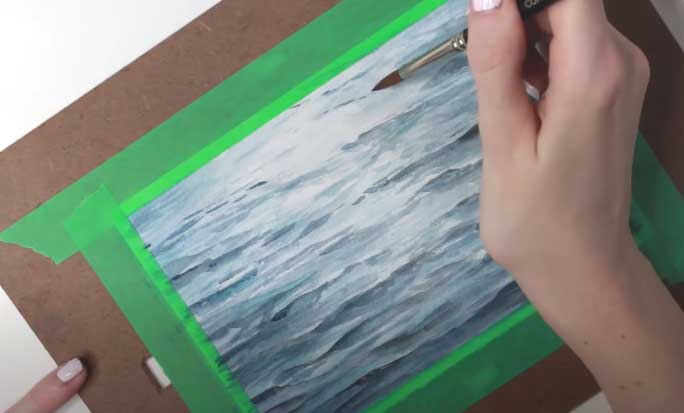
As you near the top of your watercolour painting, switch back to using Indigo without the black added. With the tip of your brush, create really fine and closer together lines on the top portion.
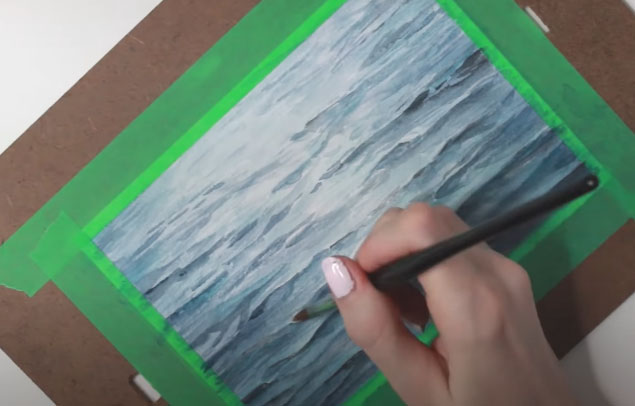
Now that your painting is almost done, it’s time to add highlights! Using a little bit of white gouache (you can also use acrylic, a white paint pen, or white ink), create highlights directly above the darker areas that you defined previously. Try adding in a few little thin wiggles, dots, and other squiggles for a more realistic highlight effect.
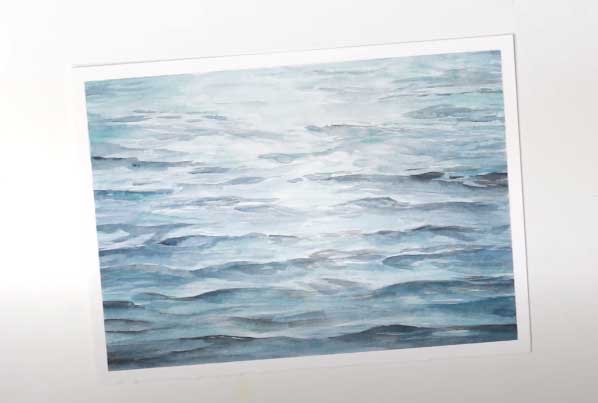
And you’re finished! As I mentioned in the beginning of this post, this technique takes a lot of patience and practice, so start small and work your way up to more complex pieces.
I hope this watercolour tutorial helped you learn how to paint water easily.
Pin this:

Besides being a wife and mama, I’m an entrepreneur, artist and author of the Watercolor With Me book series. I’m from Ontario, Canada and founder of the brand Wonder Forest. I’m here to help you on your watercolour journey!
Thankyou so much for this. If you have any other tips that would be great. Thanks for sharing
Thank you for reading, Veronica! If you have any specific questions or ideas for topics feel free to let me know 🙂
Dana
Hi Dana,
Thanks for sharing this technique. It is very helpful.
I used to paint with watercolors during my school days and restarted painting few years back. I am not a learned artist but I have good sense of painting. Are there any more good tutorials which you can suggest to learn about such important techniques. Usually if I want to learn something I search and see videos but end up getting confused.
To be honest I am kind of confused as I really want to learn waterpaints properly but do not know how to start and what to start with.
Thank you
Hi! I am glad this helped you. My whole Watercolour Workshop actually covers techniques for getting started and expanding your watercolour knowledge. It might be worth checking out if you are interested in a one-stop place for 30+ videos. 🙂
Thank you for sharing this with us, I ‘ve been wanting to learn how to do Water.Now I must practice.
Dana, Thank you for sharing these very clearly written directions for painting the ocean! Can the same rules be used for rivers, creeks, and the small lakes that might be found in city parks? I am still quite a beginner, so all tips are appreciated.
Hi Carol! I’m glad you enjoyed this post. I would say yes, but those bodies of water usually have less ripples/wave like detail, so I’d probably keep that part less detailed 🙂
Wonderfully clear instructions!!
Thank you so
Much for this tutorial ! Can’t wait to have something that’s not muddied !
I add my thanks for this inspiring tutorial. I have one suggestion to make. I realise that by speeding up the video you avoid it becoming tedious and the viewer gets a good idea of how to build up the work. However, I would find it helpful if you showed some of your strokes in real time so I could see more clearly the angle of your brush and how you alter the pressure.
Nice tutorial. It would be nice if the pictures were straight and not at an angle. That would be much easier for me. I’d love a video of this. thanks