Whether you’re a seasoned artist, or just getting started with watercolour painting, there are a few staple techniques that you should know how to master! In this post, I’ll be sharing 10 watercolor techniques that every artist should know to create beautiful and dynamic paintings.
#1 Wet-on-Wet Technique
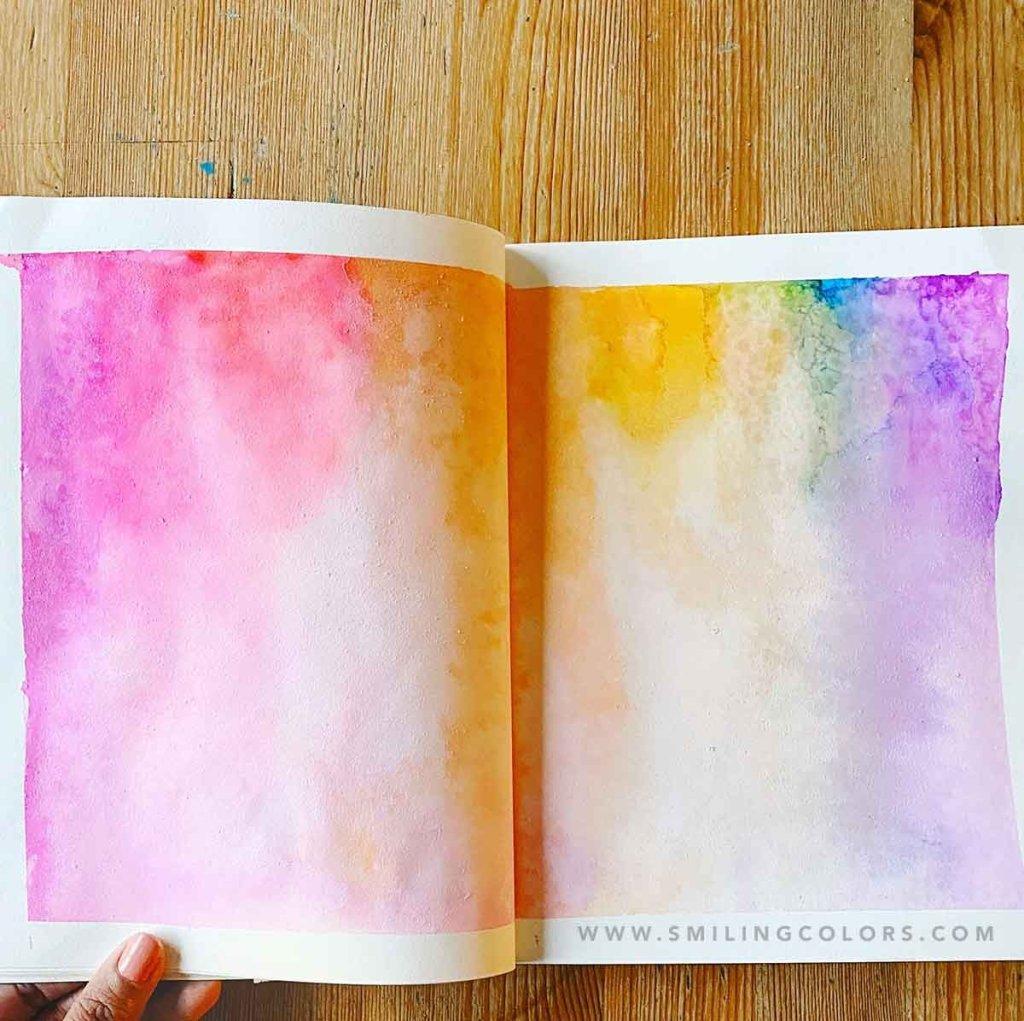
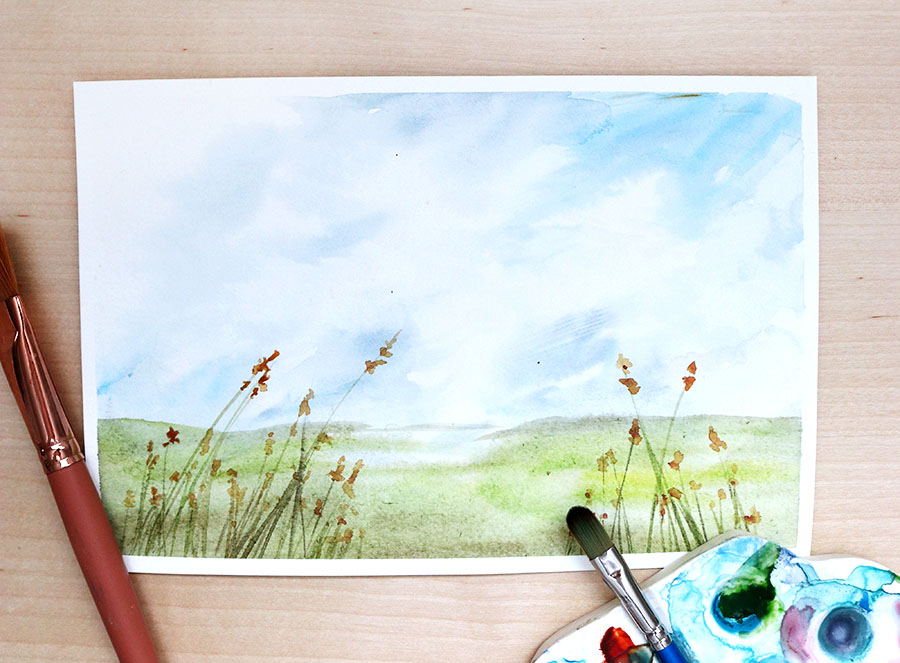
The wet on wet watercolour technique is a beautiful and versatile technique that can help you create stunning paintings.
So, what exactly is wet on wet watercolour technique? Essentially, it’s a technique where you apply wet paint onto a wet surface, allowing the colours to blend and flow together, creating beautiful gradients and soft edges. It’s a popular technique among watercolour artists because it’s perfect for creating dreamy, ethereal effects that you just can’t achieve with other techniques.
The paint spreads and blends seamlessly, and is a great technique for creating atmospheric backgrounds or for blending colors together.
To achieve the wet on wet effect, you’ll need to wet your paper first. You can do this by either spraying it with a water bottle or using a large flat brush to apply water to the paper. You want the paper to be damp, but not so wet that the colours will bleed uncontrollably.
Next, load your brush with your desired colour and start applying it to the damp paper. You can create different effects by using a variety of brush strokes, such as flicking the brush to create splatters, or using the tip of the brush to create fine lines. Experiment with different colours and brush techniques to see what kind of effects you can create.
One important thing to keep in mind when using the wet on wet technique is that the colours will bleed and blend together, so it’s important to plan ahead and work quickly. You’ll also want to make sure you’re using high-quality paper that can handle the amount of water you’ll be using.
Here are a few tips and tricks to help you master the wet on wet technique:
- Use a larger brush to cover larger areas of the paper quickly.
- Work in small sections to prevent the paper from drying out before you’ve had a chance to apply the paint.
- Don’t be afraid to experiment with different colour combinations to see what works best.
- Use a paper towel or sponge to absorb excess water or paint if needed.
- Let the paper dry completely before adding any additional layers of paint.
The wet on wet watercolour technique is a beautiful and versatile technique that’s perfect for creating dreamy, ethereal effects in your paintings.
#2 Dry Brush Technique
The dry brush watercolour technique is a technique that can add a touch of texture and depth to your paintings. So grab your brushes, and let’s dive in!
What is the dry brush watercolour technique? Well, it’s a technique where you use a relatively dry brush to apply paint to the paper, creating a rough, textured effect. It’s a great way to add some interest to your paintings and create the illusion of texture, such as the rough bark of a tree or the rocky surface of a mountain. For examples of the dry brush technique, check out my post here all about drybrushing!
To achieve the dry brush effect, start by loading your brush with paint. Then, instead of wetting the paper, lightly drag the brush over the surface of the paper, using just a small amount of paint. The key is to use a light touch, so you don’t end up smudging the paint or creating muddy colours.
You can use the dry brush technique to create a range of effects, from fine, delicate lines to rough, textured areas. This technique can create interesting textures and details, particularly for fur or hair. Try using different brush sizes and shapes to see what kind of effects you can create.
Here are a few tips to help you master the dry brush technique:
- Use a paper with a rough surface, such as watercolour paper or cold-pressed paper, to help create the texture.
- Use a lighter touch for finer details and a heavier touch for more textured areas.
- Experiment with different brush sizes and shapes to see what kind of effects you can create.
- Don’t be afraid to layer multiple colours to create depth and interest.
- Try using a slightly damp brush for a variation on the dry brush technique.
#3 Watercolour Salt Technique
What exactly is the watercolour salt technique? The salt technique involves sprinkling salt onto wet paint to create a textured effect. The salt absorbs the water and creates a unique texture as it dries. This technique is great for creating a grainy, textured effect, particularly for backgrounds or ocean scenes.
It’s a fun and easy technique that can create some truly unique and beautiful effects. So grab your brushes, some salt from your kitchen, and let’s get started!
To achieve the watercolour salt effect, start by wetting your paper with water. Then, apply your desired colours to the damp paper. While the paint is still wet, sprinkle some salt over the painted areas. You can use different types of salt, such as table salt, sea salt, or even Epsom salt, to create different effects.
Let the salt sit on the paper for a few minutes, allowing it to absorb the paint. Then, carefully brush the salt off the paper once the paint is dry. You’ll be left with beautiful speckled areas of light colour where the salt was.
Here are a few tricks to help you with the watercolour salt technique:
- Use a high-quality watercolour paper that can handle the wet paint and salt without buckling or warping.
- Try experimenting with different types of salt to see what kind of effects you can create.
- Don’t use too much salt, as it can overpower the painting and make it look too busy.
- Let the salt sit on the paper for a few minutes to give it time to absorb the paint.
- Try combining the watercolour salt technique with other techniques, such as wet on wet, to create even more interesting effects.
#4 Watercolour Glazing Technique
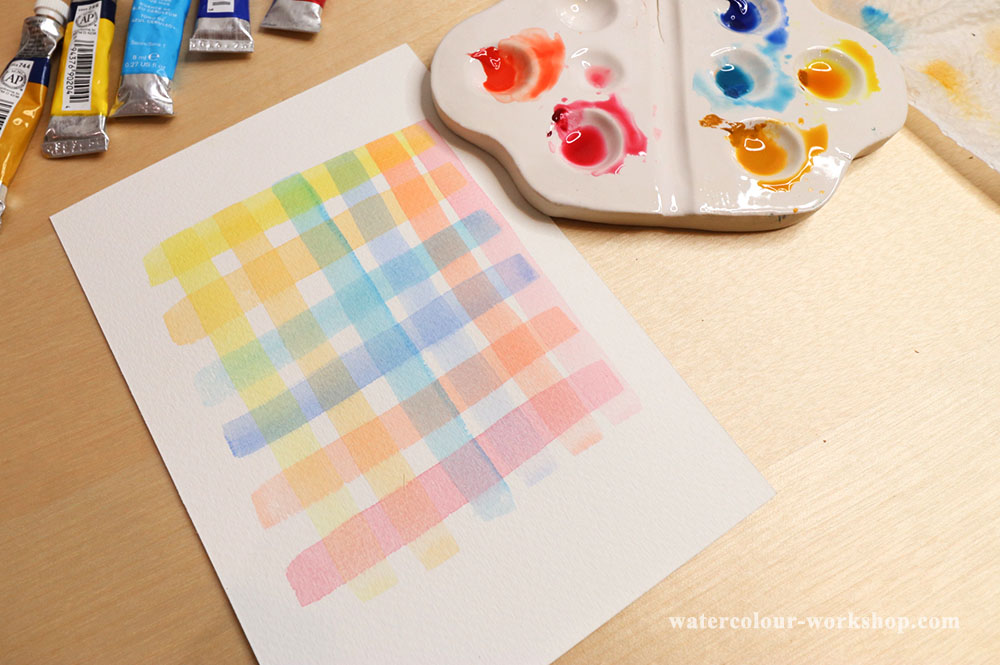
The glazing technique involves applying multiple layers of thin, transparent paint over one another. This technique can be used to create rich and vibrant colours, depth, and luminosity in your paintings. I have a post all about watercolour glazing if you want to learn more.
But, exactly what is the watercolour glazing technique? It’s a technique where you apply a thin layer of transparent watercolour over a previously painted layer to create a new colour or deepen the existing colour. By layering multiple glazes, you can create depth, luminosity, and a range of colour variations in your painting.
To achieve the watercolour glazing effect, start by painting a base layer of watercolour. Once the first layer is dry, mix a transparent colour, such as a glazing medium or water, with your desired colour. Then, apply a thin layer of the mixture over the previous layer of paint, making sure to let the layer dry completely before applying the next one.
Repeat this process as many times as you like to create your desired effect. The more layers you add, the richer and deeper the colour will become.
Here are a few tips and tricks to help you master the watercolour glazing technique:
- Use high-quality watercolours and paper to ensure that the glazes will adhere and blend smoothly.
- Be patient and let each layer dry completely before applying the next one. Rushing the process can cause the colours to mix and become muddy.
- Experiment with different colour combinations to see what kind of effects you can create.
- Try using a mix of warm and cool colours to create depth and interest.
- Be careful not to overdo it – too many glazes can make the painting look flat and dull.
#5 Watercolour Lifting Technique
This technique is great for correcting mistakes or for creating highlights or details!
What is the lifting technique? The watercolour lifting technique is achieved by removing wet or dry paint from the surface of the paper using a brush, sponge, or even a piece of tissue. This technique is especially useful for creating highlights or correcting mistakes in your painting.
To lift wet paint, use a clean, damp brush or sponge to gently remove the paint from the paper. Be careful not to scrub too hard, as this can damage the paper. If you want to lift dry paint, use a damp brush or sponge to moisten the paint and then gently lift it off the paper.
You can also use a piece of tissue to lift off small areas of paint. Simply blot the area with the tissue to remove the paint. This technique is useful for creating highlights in areas where you want the paper to show through.
Here are a few tips for the watercolour lifting technique:
- Use a high-quality watercolour paper that can handle the lifting without tearing or warping.
- Be gentle when lifting the paint, as aggressive scrubbing can damage the paper and create unwanted texture.
- Experiment with different brushes and sponges to see what kind of effects you can create.
- Use a clean brush or sponge to avoid mixing colours or creating muddy areas.
- Always test the technique on a scrap piece of paper before trying it on your painting.
With a little practice and patience, you can achieve some truly beautiful effects. Remember to experiment and have fun with this technique, and always be gentle with your paper.
#6 Watercolour Masking Technique
This technique is a game-changer when it comes to creating precise details in your watercolour paintings. So, let’s dive right in!
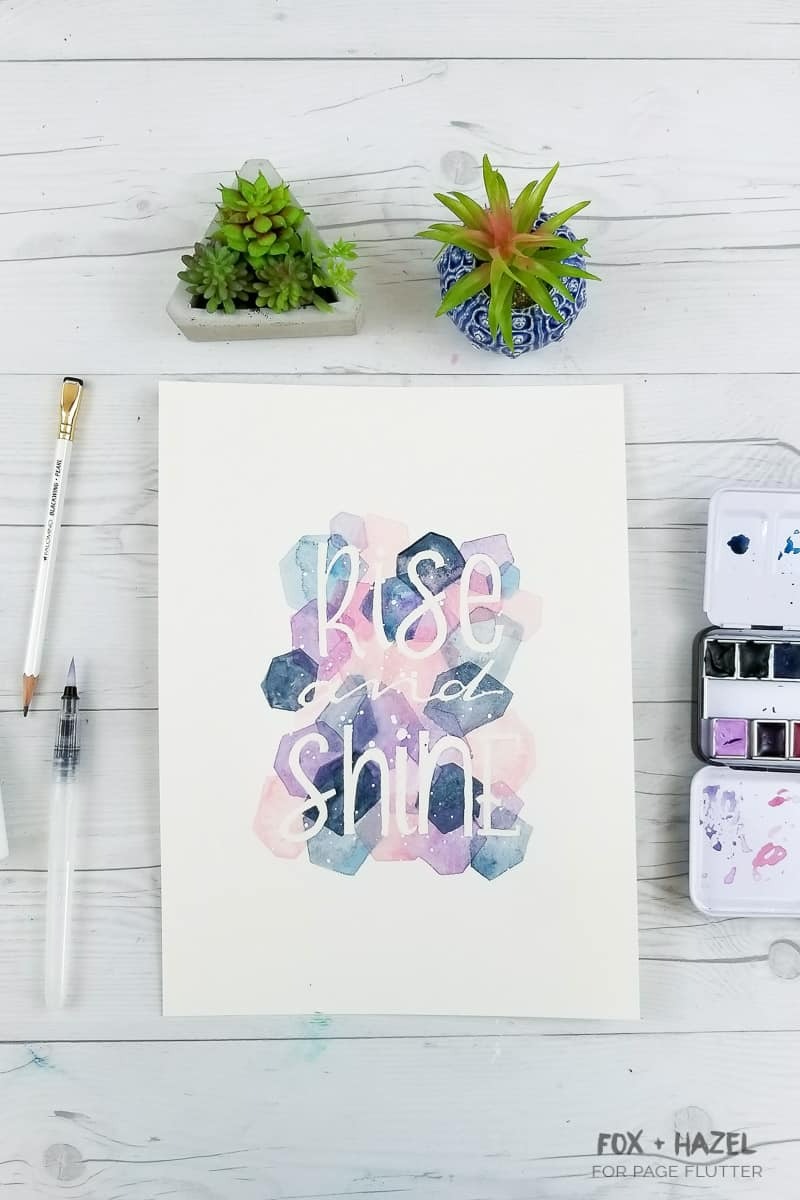
The watercolour masking technique involves using a masking fluid or masking tape to protect areas of your paper from being painted. This allows you to create sharp, defined edges and preserve areas of white in your painting. Once the paint has dried, you can remove the masking fluid or tape to reveal the protected areas.
To use masking fluid, start by applying it with a brush or pen to the areas of your paper that you want to protect. Make sure to let it dry completely before painting over it. Once you’ve finished painting, let the paint dry completely before gently peeling off the masking fluid.
If you’re using masking tape, apply it to the areas of your paper that you want to protect before painting. Once the paint has dried, carefully peel off the tape to reveal the protected areas.
Here are a few tips for the watercolour masking technique:
- Use a high-quality masking fluid or tape to avoid damaging your paper.
- Test the masking fluid or tape on a scrap piece of paper before using it on your painting to ensure it won’t damage the paper.
- Be careful not to apply the masking fluid too thickly, as this can make it difficult to remove.
- If you’re using masking tape, make sure to press it down firmly to prevent paint from bleeding underneath it.
- Remove the masking fluid or tape slowly and carefully to avoid tearing the paper.
The watercolour masking technique is a powerful tool for creating precise details and preserving areas of white in your paintings. Remember to experiment and have fun with this technique, and always be careful when removing the masking fluid or tape.
#7 Graded Wash Technique
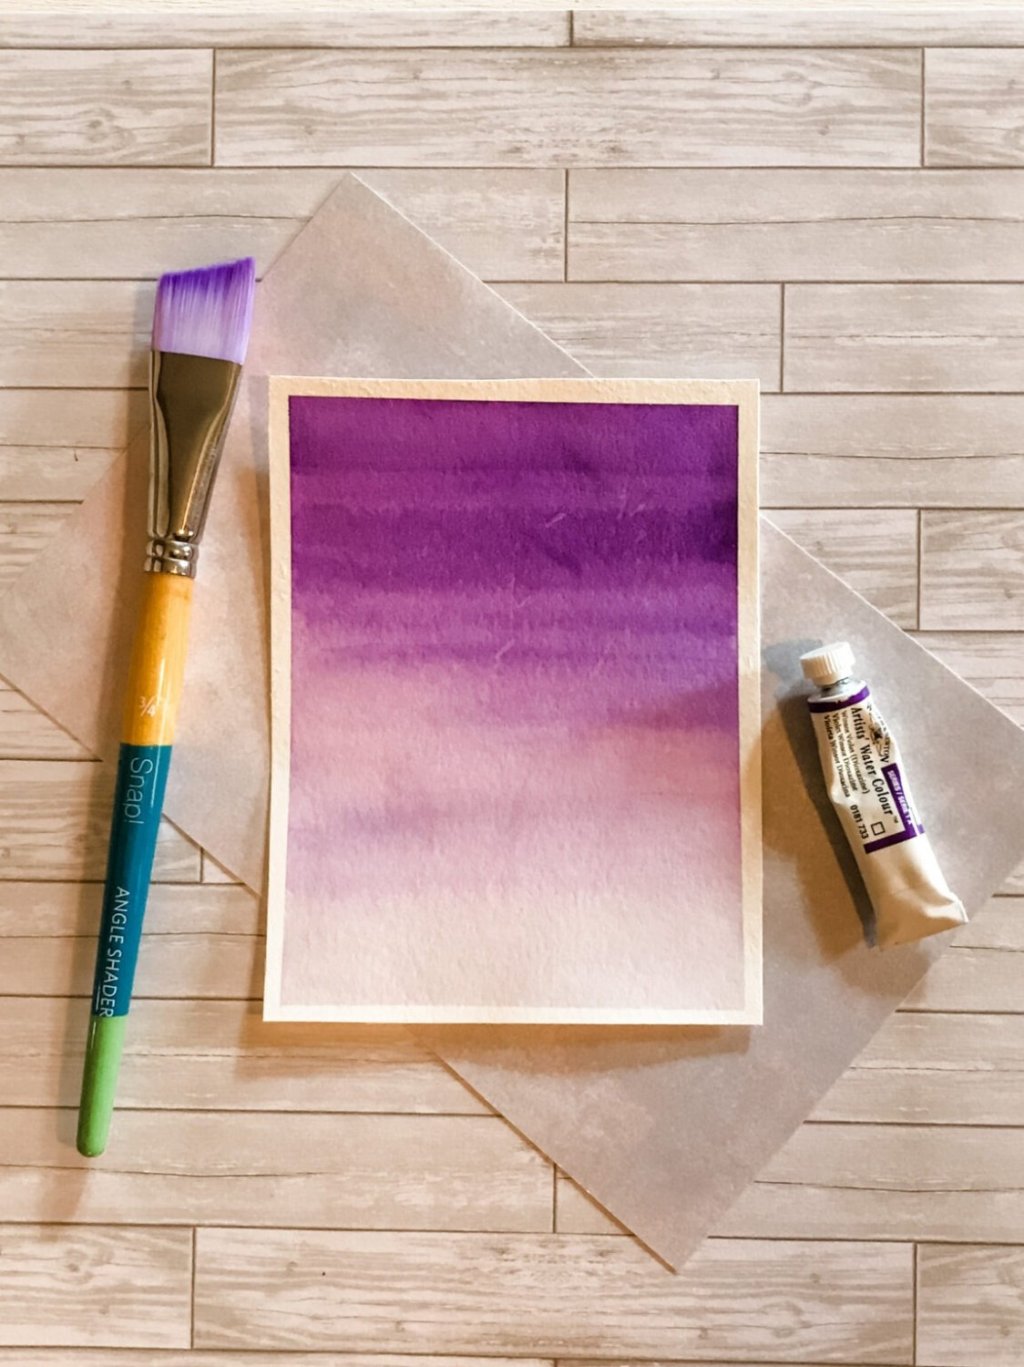
The graded wash technique involves creating a gradual transition of color from light to dark. This technique requires a steady hand and careful control of the paint and water, but it is perfect for creating smooth gradients of colour in your paintings.
The graded wash technique involves blending one colour from light to dark to create a gradual shift in colour intensity. To achieve this, you’ll need a flat brush and a single colour of paint.
Start by wetting your paper with clean water using your flat brush. Then, load your brush with the your colour and apply it to the top of your paper. Gradually add more water to your colour as you move down the paper, making sure to blend the transitions together as you go.
To create a more intense gradient, you can repeat this process multiple times, making sure to let each layer dry completely before adding the next. This will create a more saturated effect.
Here are a few tips and tricks to help you master the graded wash technique:
- Use high-quality paints to ensure smooth transitions of colour.
- Make sure your paper is completely flat before starting to paint, as any wrinkles or bumps can disrupt the smoothness of the gradient.
- Use a large, flat brush to make blending easier.
- Be patient and take your time – this technique requires a steady hand and a lot of patience to get right.
- Practice on scrap paper before attempting the graded wash on your final painting.
#8 Watercolour Blooming Technique
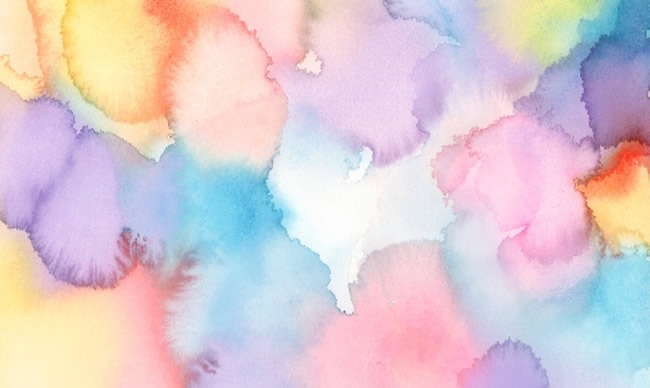
The blooming technique involves wetting an area of the paper surface and then dropping in concentrated paint. As the paint spreads, it creates a unique, organic pattern. This technique is great for creating abstract backgrounds or for adding interest to large areas of color.
If you want to add some natural texture and depth to your watercolour paintings, this technique is for you.
The blooming technique is achieved by first wetting the paper with clean water. Then, you drop small amounts of paint onto the wet surface, allowing the pigment to spread and blend together naturally. As the paint dries, it creates a unique and beautiful pattern known as a bloom.
To achieve the best results, here are some tips and tricks to keep in mind:
- Use high-quality watercolour paper that can handle the wetness of this technique. Rough or cold-pressed paper will provide the best texture for blooms.
- Try experimenting with different colours and combinations of paint to see what effects you can create.
- Use a spray bottle to control the amount of water you apply to the paper. This will help you achieve the desired level of wetness for the blooms.
- Allow the paint to dry completely before adding any additional layers or details to your painting.
- Don’t be afraid to make mistakes – the beauty of this technique is in its unpredictability, so embrace the unexpected!
By allowing the paint to do its own thing, you’ll create unique and beautiful patterns that can add depth and interest to your work.
#9 Stippling Technique in Watercolour
The stippling technique involves creating a pattern of small dots using the tip of the brush. This technique can create interesting textures and details, particularly for creating the illusion of texture on surfaces such as rocks or tree bark.
Stippling is achieved by using a small, pointed brush to apply small dots of paint onto the paper. The dots can vary in size and intensity, creating a variety of effects from subtle texture to bold, graphic designs.
To achieve the best results, try these tricks:
- Use high-quality watercolour paper that can handle the build-up of layers from the dots of paint.
- Experiment with different brush sizes and shapes to create different textures and patterns.
- Use a light touch when applying the dots, as too much pressure can cause the dots to blend together.
- Vary the size and spacing of the dots to create different effects – for example, smaller, closely spaced dots can create a more subtle texture, while larger, more widely spaced dots can create a more bold and graphic look.
- Stippling can be a time-consuming technique, but the results are well worth it!
By using small dots of paint, you can create a variety of effects that can add interest and dimension to your work.
#10 Wet-on-Dry Watercolour Technique
Lastly is the classic wet on dry technique. If you’re just starting out with watercolour painting, this technique is a great place to start as it’s simple yet versatile.
What is the wet-on-dry watercolour technique? The wet on dry technique involves applying wet paint onto dry paper. This results in crisp, defined edges and allows for more control over the application of the paint.
Here are some basics you should know about this technique:
- Use high-quality watercolour paper that can handle the wetness of the paint without buckling or warping.
- Wet your brush and load it with paint, then apply it to the dry paper in controlled strokes.
- Use a variety of brush sizes and shapes to create different effects and textures.
- Allow each layer to dry completely before adding additional layers of paint to prevent colours from bleeding or becoming muddy.
The wet on dry technique is a classic watercolour technique that can be used to create a variety of effects, from bold and graphic to delicate and subtle.
To wrap things up, watercolour is a super versatile medium that allows for a wide range of techniques and effects, which is probably why it is loved by so many artists! By mastering these 10 watercolor techniques, you can create beautiful and dynamic paintings that showcase the unique qualities of this medium. Remember to experiment, practice, and have fun!
Pin this for later:

Besides being a wife and mama, I’m an entrepreneur, artist and author of the Watercolor With Me book series. I’m from Ontario, Canada and founder of the brand Wonder Forest. I’m here to help you on your watercolour journey!