One of the most common questions that any watercolour beginner might ask is “how do I keep my watercolour paper flat?”
We’ve all run into this problem before when we are applying water to the paper only to have it warp, bend and buckle — making it really difficult to work with.
So, how do you prevent watercolour paper from bending?
The trick to keeping your paper flat is to fix it quickly before the paper has a chance to air dry.
While there is always the option of wetting and stretching your paper before you begin, we’re going to go over an easier, more beginner-friendly method that doesn’t require any prep time.
Try this to stop warping watercolour paper
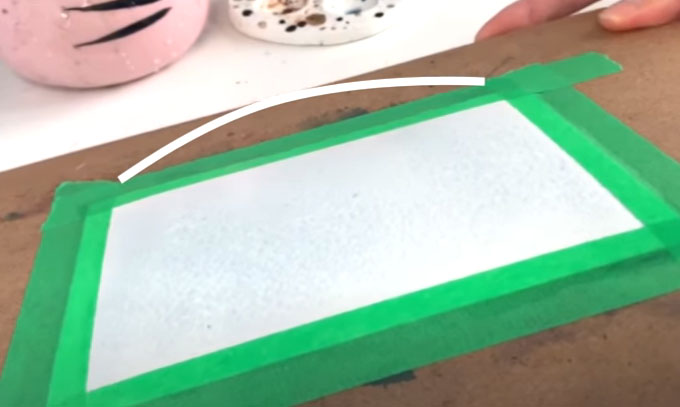
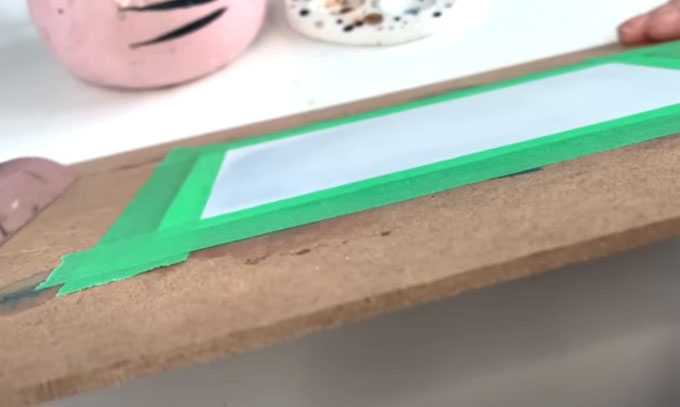
Firstly, you should always try to start with a piece of watercolour paper that is secured to a hard surface like a table or a board. The backing of a picture frame works great as does a clipboard! Keeping your paper flat to begin with is essential to prevent warping of watercolour paper.

Secure your paper with a tape that is not overly tacky. I like to use painter’s tape or washi tape for this. If your tape is too sticky, it will rip the paper when removing it. You can stick the tape to your clothing first to minimize some of the stickiness if needed.
Next, apply your wet paint or water to the paper. With wet on wet washes, the paper should be damp — no puddles!!! When you are satisfied with how your first layer looks are are ready to set it, it’s important to dry it evenly.
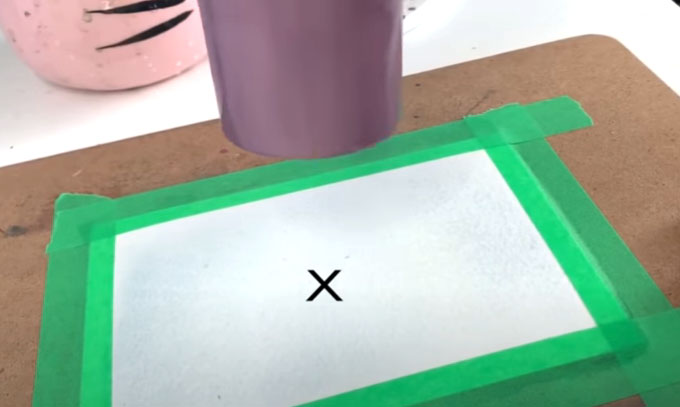
Using a hair dryer or a heat gun, start drying your paper in the center of the paper or painted area on a low speed. Then, move on to the corners and the edges of the piece. Starting in the center and then moving to the corners and edges is really going to help the paper dry properly.
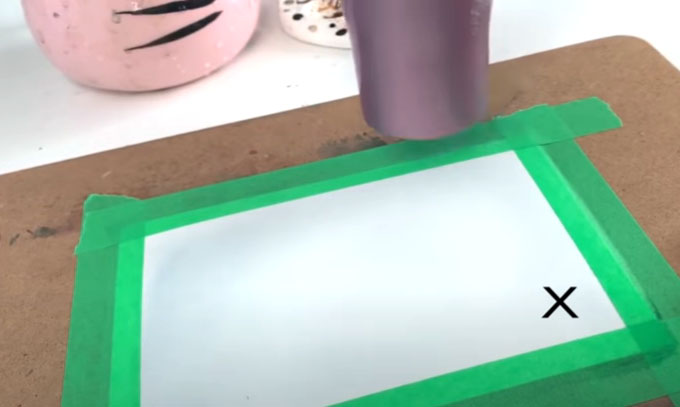
With this method, you are allowing the heat to absorb the water in a well thought out pattern. Starting in the center allows the moisture to be “pushed” out towards the edges instead of gathering in the middle of the paper.
If you had allowed this layer to dry naturally, you might have still ended up with those warps and bumps, but because we are forcing it to dry in this method, you will see that it is nice and flat and the perfect surface to continue painting on.
Dry each layer in this method before continuing on to other layers and you should end up with a nice, flat piece.
I hope this technique helps you while painting wet pieces! Why not take a look at some easy painting ideas for beginners next?

Besides being a wife and mama, I’m an entrepreneur, artist and author of the Watercolor With Me book series. I’m from Ontario, Canada and founder of the brand Wonder Forest. I’m here to help you on your watercolour journey!
Thankyou Dana
Thank you Dana, that was good advise. I’ve tried it and yes it certainly works.
I start out with a wet wash like you advised. When it’s completely dry then I rewet the paper again, So now I’m ready to paint.
Thank you Dana.
Need advice on flattening paper AFTER it has dried with a warp
Me too.
When the painting is completely dry, put a clean piece of paper over the painting and put this face down on a table. Lightly spray the back with water, use wax paper, or something that won’t absorb water on top of the damp back, then place a heavy book on top of this. Leave for 24 hours, then check your painting. The paper should be flat now. Good luck.
Thanks, I’ll try it!
Never use green tape — it alters your sense of color– use beige or white instead. If you buckle your paper, use your steam iron to iron it on both sides to make it totally flat. The steam does not change the color. Then you don’t leave white edges — sometimes the mat will not be wide enough to cover.