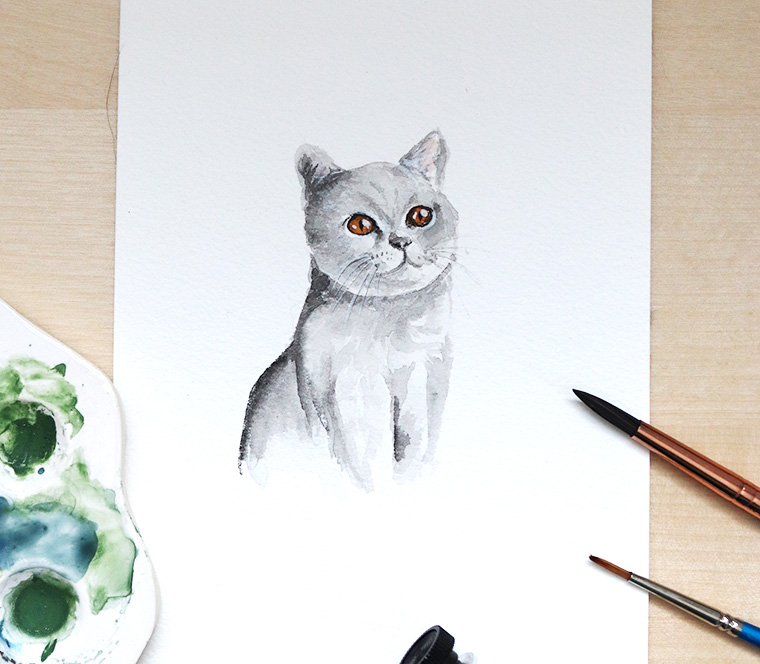
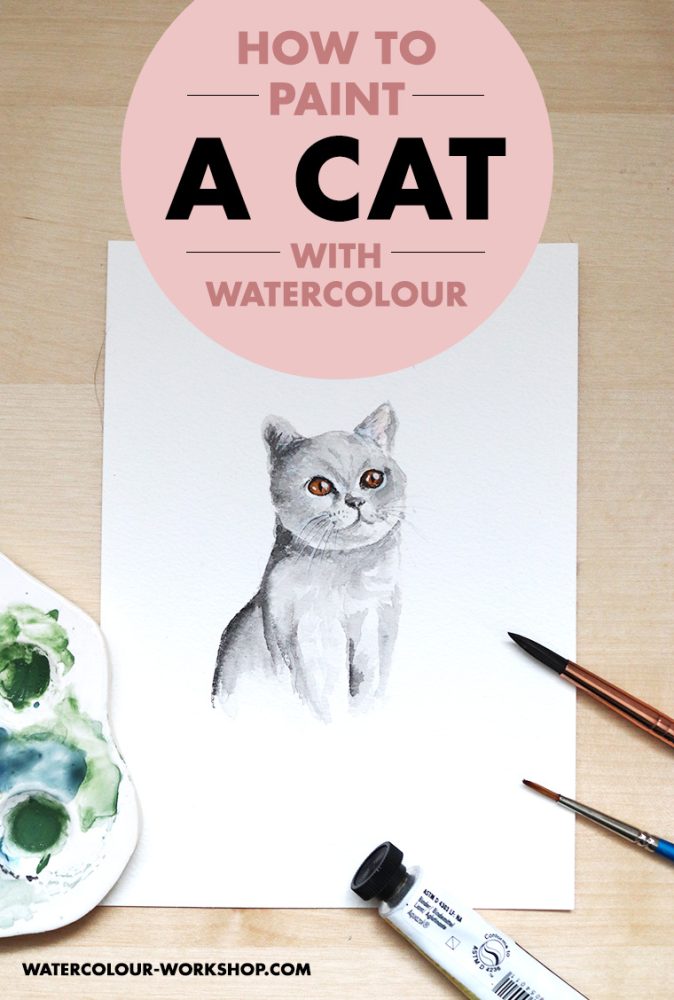
Wondering how to paint a cat with watercolour? Even if you aren’t an artist, I’ve got a super simple step-by-step watercolour tutorial that you can follow to paint your own kitty cat.
The joy of painting cats is so wonderful because there are so many different breeds and colours you can experiment with.
In this tutorial, I will show you how to sketch your initial idea and then paint it using wet on wet and wet on dry watercolour techniques.
You will only need a few supplies for this because this cat is a grey cat. I’ve kept the colours simple, but feel free to add your own touch of creativity to your kitty!
If you’d like to watch the video version of this tutorial as well, you can view it here on my YouTube channel.
Supplies you’ll need:
- Watercolour paper of your choice (what watercolour paper should you use?)
- Black watercolour paint
- Orange or amber coloured watercolour paint
- A round pointed #6 watercolour brush
- A super fine detail brush
- White gouache, a white ink pen, or white acrylic – either will work!
- Pencil and eraser
How to draw a cat
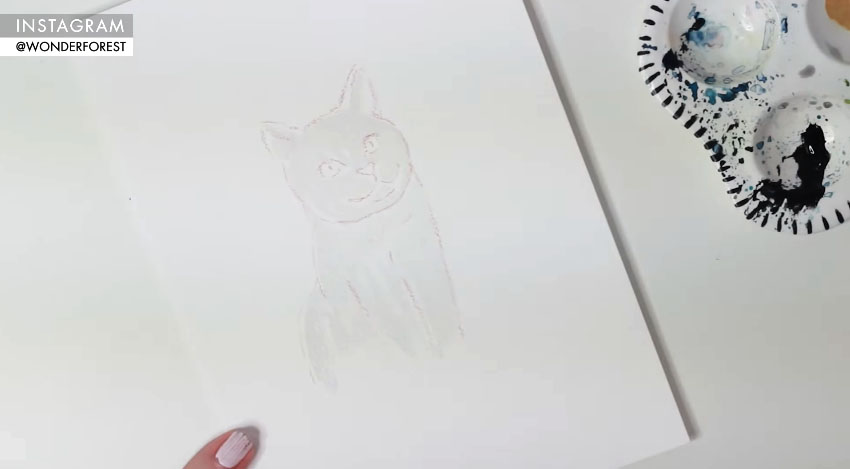
In order to paint a cat, we have to draw one first! Here is a very simple way to sketch out a cat to paint with watercolour.
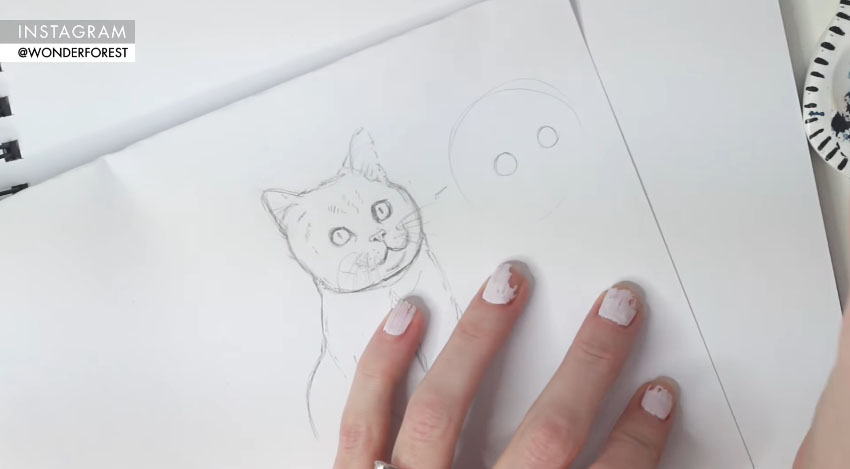
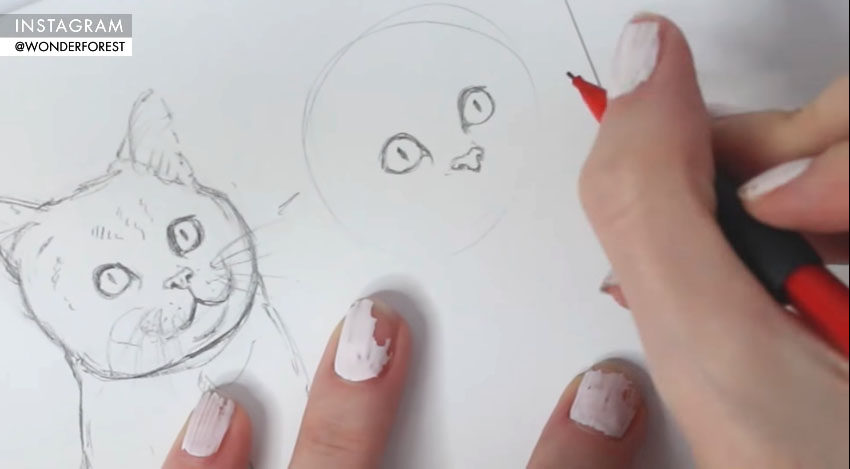
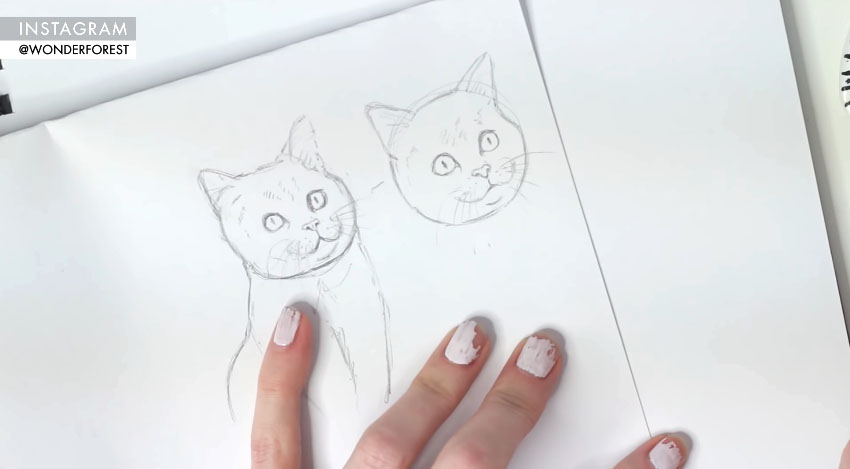
The sketch on the left is the one we will be copying. Please ignore my chipped nail polish for the remainder of this tutorial! Start by drawing a circle for the head followed by two smaller circles at the half way point of the larger one for the eyes.
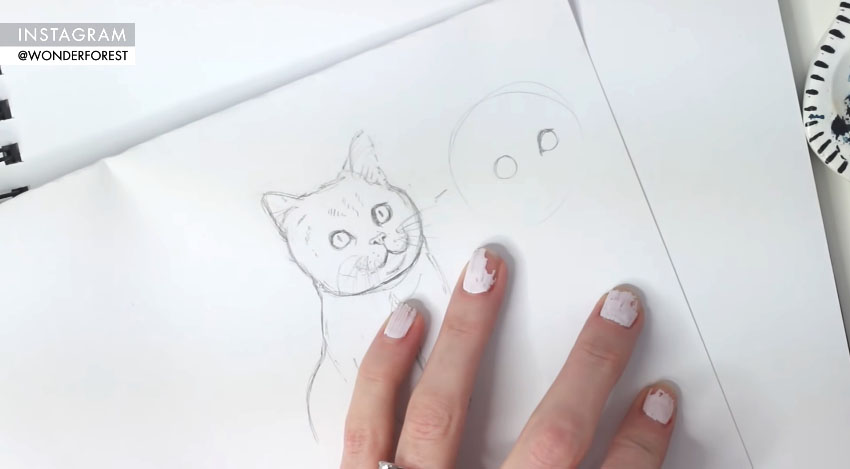
Shape the eyes a little bit to make them more cat-like. Imagine that you are drawing eyeliner on the eyes and creating more of a teardrop shape with pointed tear ducts.

Now draw the pupils of the eyes. I made these like little vertical slits, but you can also draw more dilated pupils depending on the amount of imaginary sunlight in your painting.
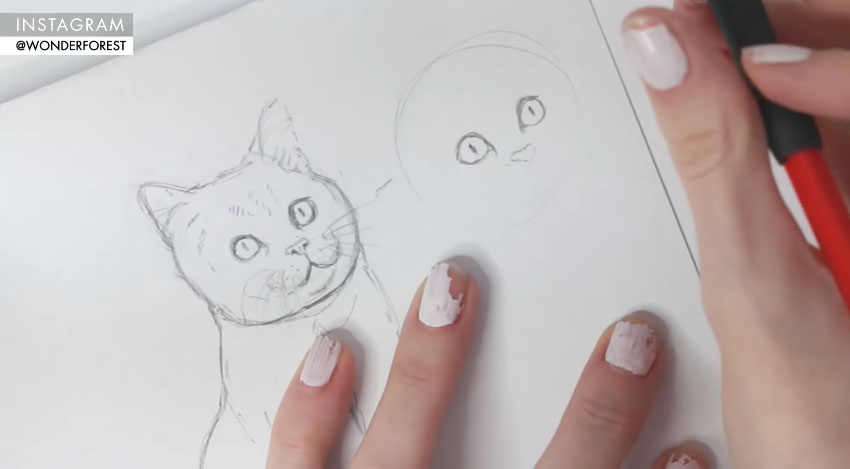
Moving onto the nose, draw an upside down triangle with a little dip in the top. Cats don’t normally have perfect triangle shaped noses, so you can play with the edges a little bit and create more rounded corners.
Add the nostrils next. They are sort of tear drop shaped as well. Now define some of the edges to make the nose less triangle shaped.
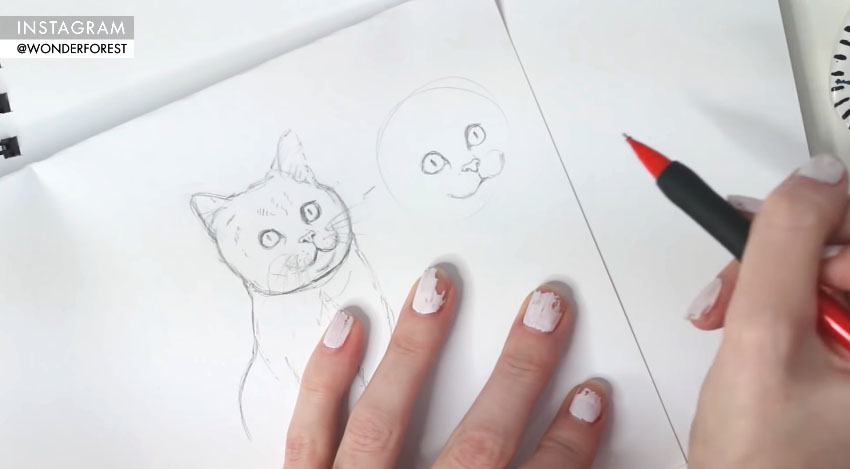
Moving onto the mouth, draw a short vertical line from the bottom of the nose to where the mouth begins. If you lightly sketch two circles where the “cheeks” of the cat will go, you can then shape the mouth around them.
Shaping the face
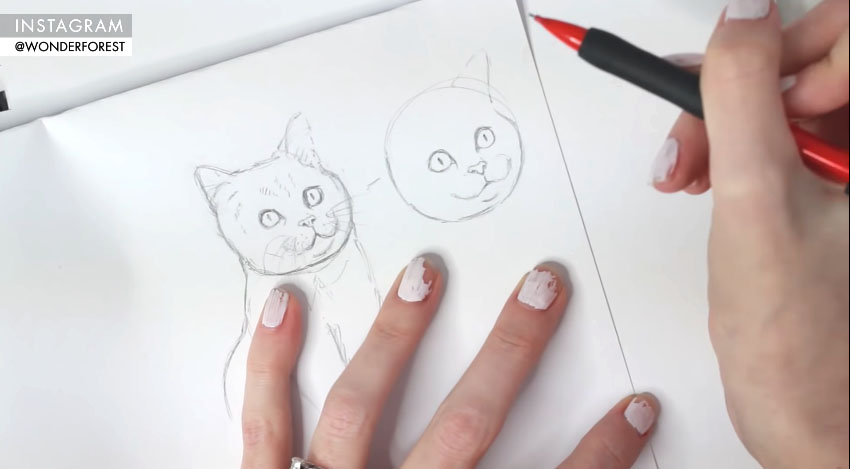
You’ll use your initial circle of the head to draw the shape of the face. Since a cat’s face isn’t perfectly round, we will just use your initial sketch as a guideline and create more of a natural head shape. There is more of an indent where the cheeks meet the ears, for example.
When drawing the ears, think about where they emerge. If you were to draw a diagonal line from the outer edge of the eyeball upwards, that is where the ear would begin. The other edge of the ear will start somewhere around the inner corner of the eye if you were to imagine another diagonal line sprouting from there.
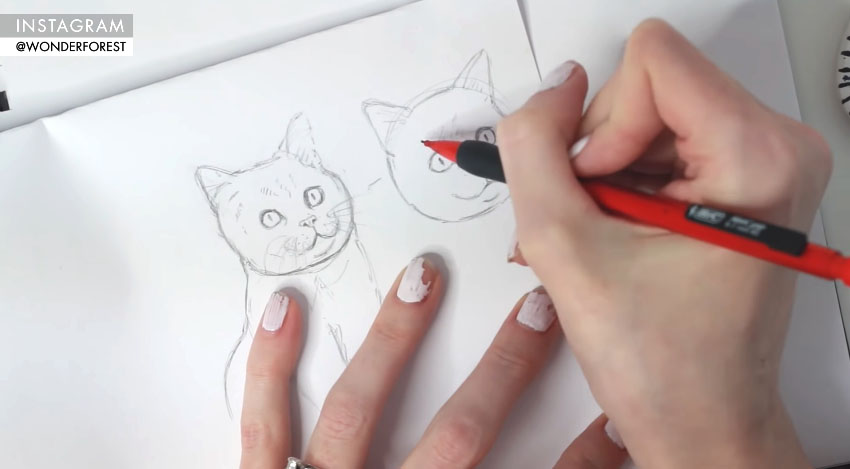
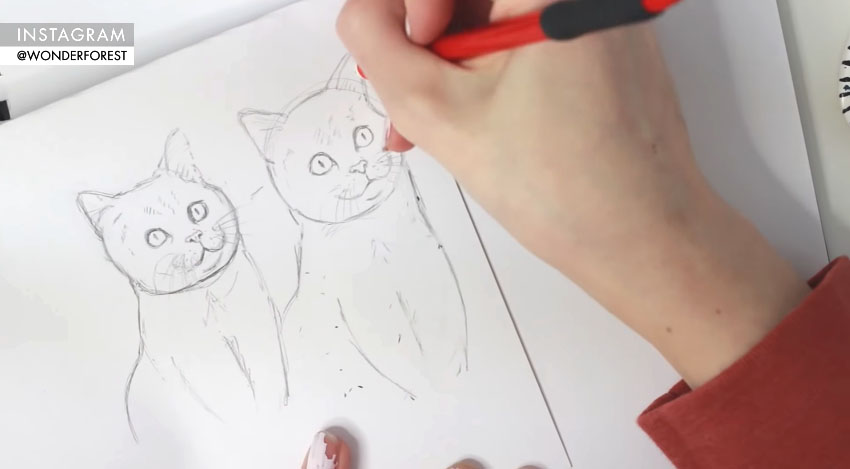
You can now start lightly making a few marks referencing where you want some of the cat’s markings to appear. We will paint these later.
Add in a few whiskers and now we will get started on the body. Remember, this is just an initial sketch that we will paint, so it doesn’t have to be super detailed. We will add more detail when we add colour!
Drawing the body of the cat
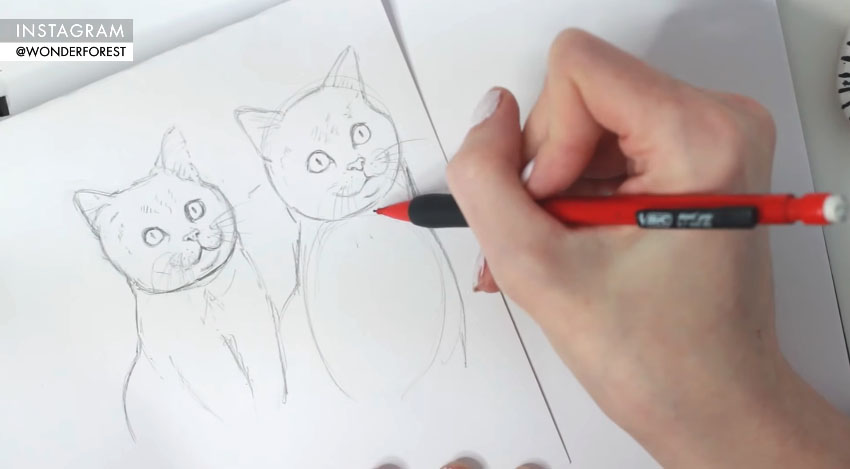
For the body of the cat, draw an oval about the height of two heads. You’ll use this as a reference point. Then, draw the shape of the body around the oval as shown above.
Draw in some indications of the legs and then erase all of the guidelines you sketched on previously. This includes the initial circles and the oval.
Painting a Cat With Watercolour
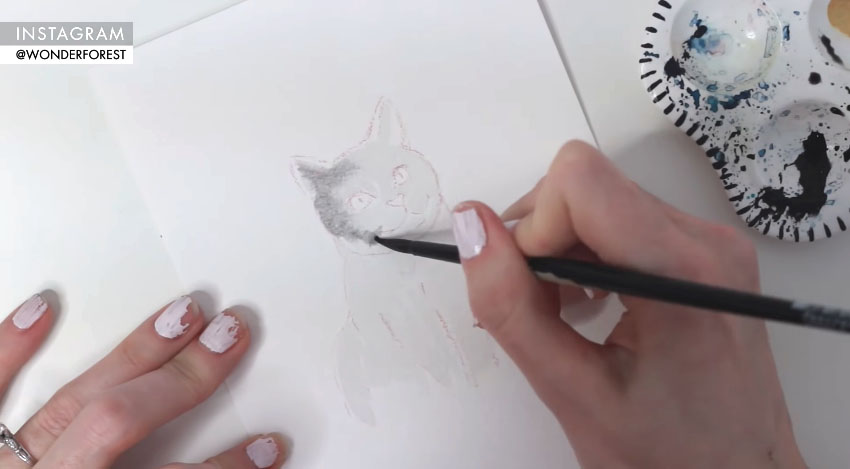
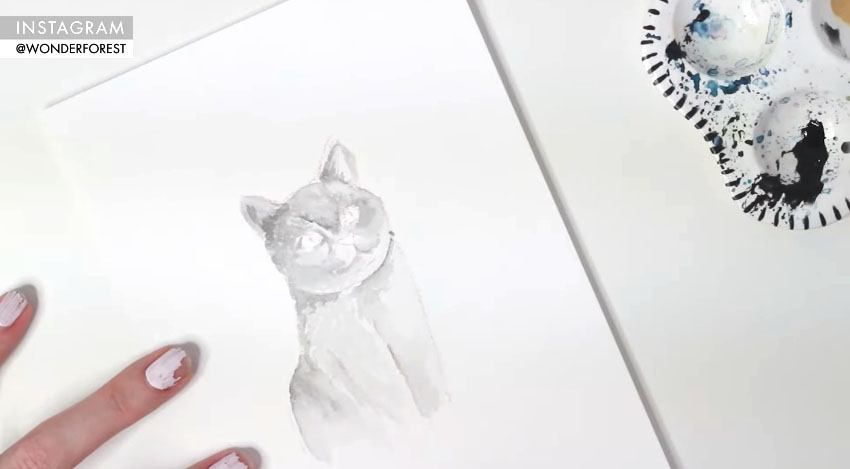
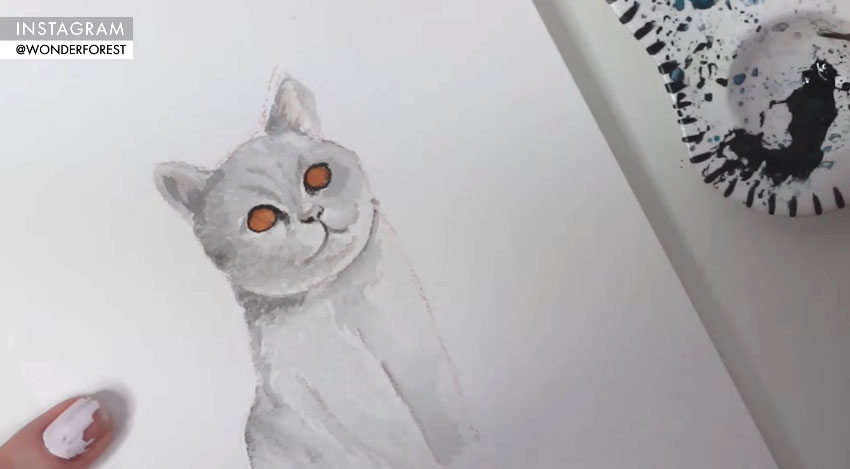
Now let’s paint the cat! Using a very diluted mix of black (I used Lamp Black by Winsor & Newton), apply the colour to the head and body of the cat.
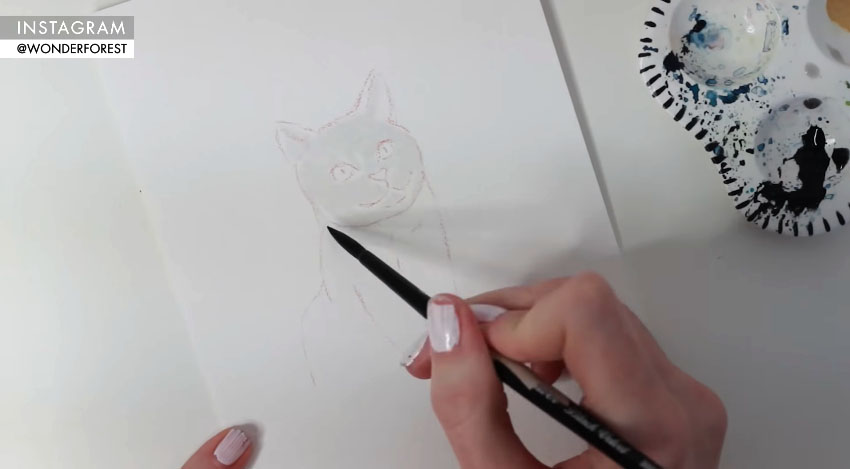
You don’t have to be too precise with this layer as it is just the base layer of the cat. We will be adding more detail and colour to it.
You can see that I kept the colour within the lines and wasn’t too concerned about perfect edges.
While the painting is still wet, add in a darker mix of the black shade to indicate the darker areas on the cat. You don’t have to be super precise again, as this is still part of the base layer.
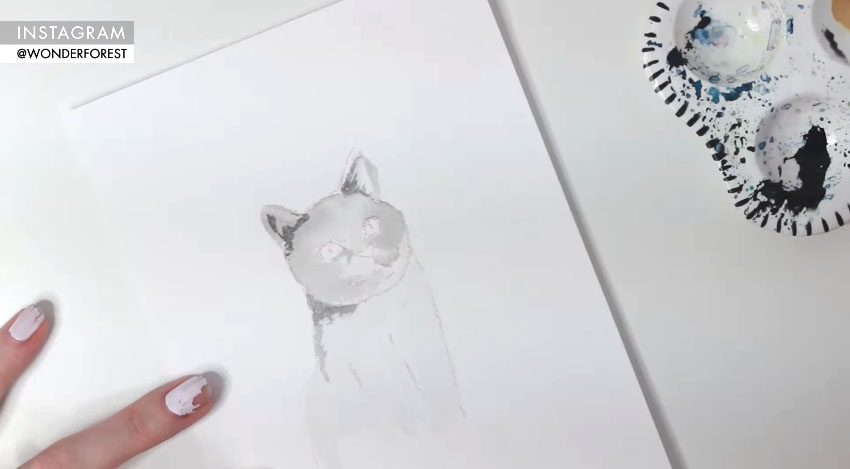
For this cat, the areas under the neck, the ears, the right hand side of the face, and the corners of the eyes are going to be darker areas. Go back in with the tip of your brush to define even more areas and any markings of the cat with the darker shade of black.
The first layer of the paint was painted in a wet on wet style, while this next more detailed layer will be painted on the dryer paper.
Painting the body
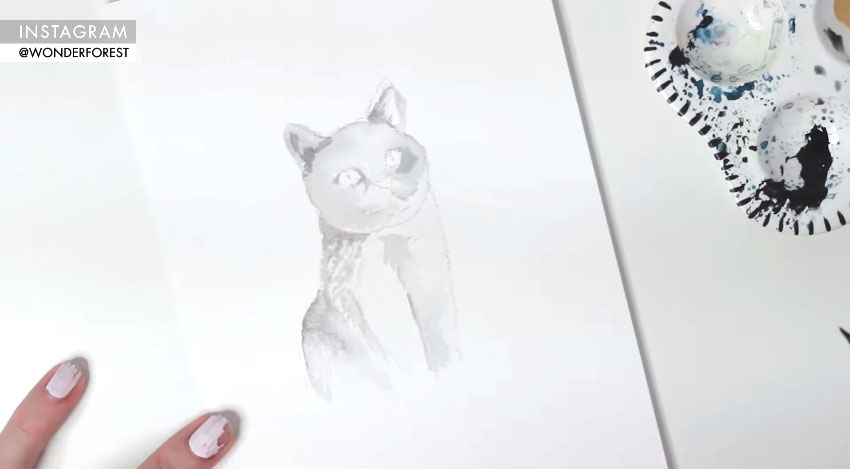
Move onto painting the body now in the same manner as before, letting some of the darker tones blend into the lighter ones. Be sure to darken the areas that would naturally have highlights, such as the back of the body behind the front legs, in between the legs, and the chest.
Painting wet onto dry paper now, go back and re-paint some of the darker details on the face, including any markings that you want to appear on your cat.
Painting the facial details
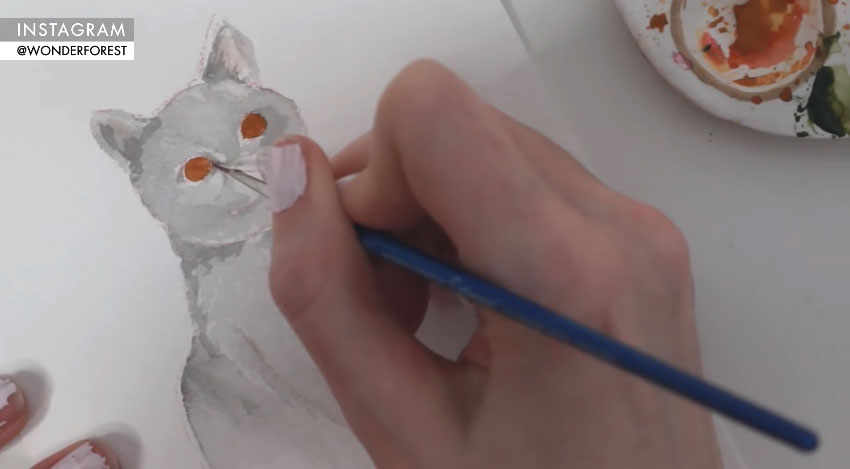
With the painting dry completely, grab a small detail brush and paint the eyes using an orange/amber shade. I mixed up some brown and orange to create this shade.
Using that same brush, paint the nose of the cat a grey shade using a diluted black colour, and then add the same shade to the inside of the eye area. Use the tip of the brush to paint the mouth detail.
Continue painting in the little details using this little brush. Use short strokes and don’t be too worried about being perfect. That’s the beauty of this piece!
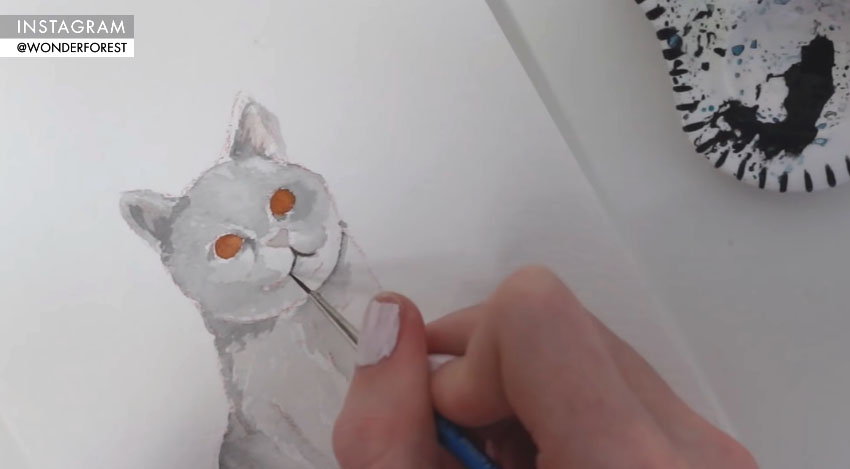
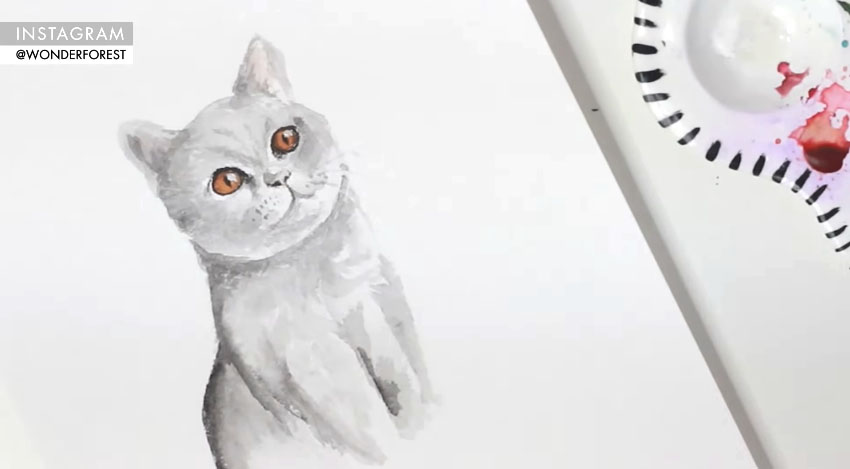
Here I have painted the markings on the forehead, the nose details, and added some short brushstrokes to give the impression of fur around the face and neck area.
Using the black without much water added, define the eyes by painting “eyeliner” around them and darkening the inner corners. Also darken the nostrils now and define that nose a little bit more.
Finishing your cat painting
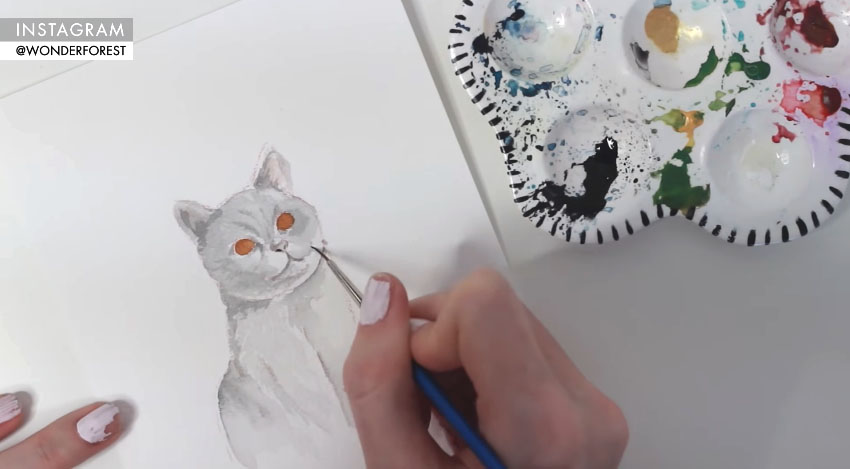
The process to complete the cat is basically now just a process of using that small brush and darkening any areas that need to be darkened. Using short strokes to mimic fur shape the cat.
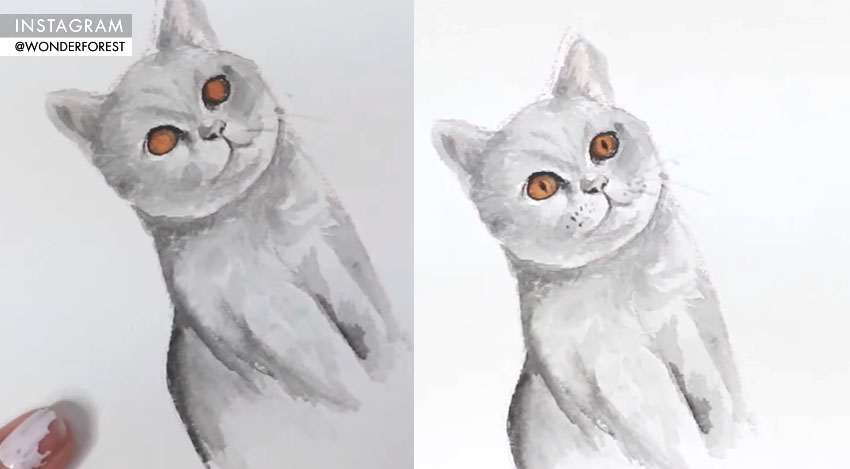
On the left you can see the areas that I darkened and added some “fur-like” strokes to. On the right image, I used the small brush to create dots on the cheeks and filled in the pupils.
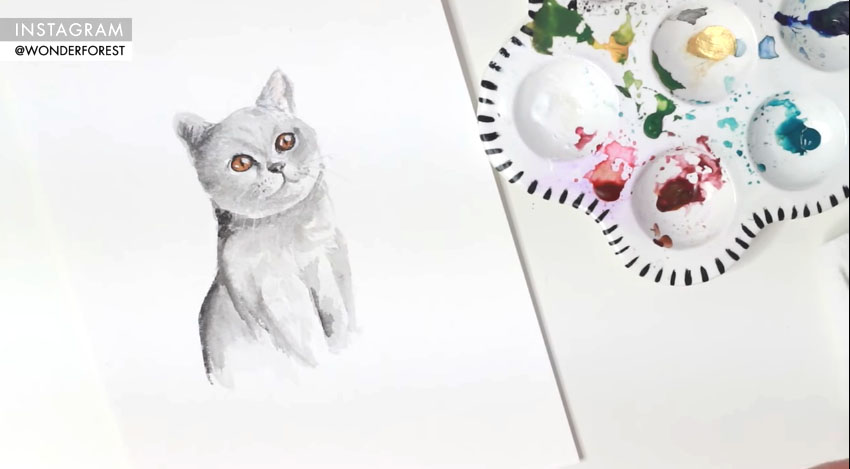
Once you’re finished, let your painting dry and then erase all of your pencil lines.
Now it’s time to add some highlights to the piece to finish it off and really make it pop! I used a white gouache, but you can also use a white acrylic paint, a white gel pen, or white ink. Anything that is more opaque than watercolour will work!
I added highlights to the iris of the eyes as well as around the exterior of the eyes. I also added some to the fur in the ears, some short strokes of white in the fur, and then lightly painted on the whiskers in the same white.
Finally, using a little black again, go back in and darken any remaining areas that might need to be darkened.
There you have it! A sweet little kitty cat painted in watercolour paint. How did yours turn out?
Pin this:

Besides being a wife and mama, I’m an entrepreneur, artist and author of the Watercolor With Me book series. I’m from Ontario, Canada and founder of the brand Wonder Forest. I’m here to help you on your watercolour journey!
I will try to draw my kitty like yours with different markings. She is a tuxedo. Do you have any doggie how-to’s?