One of the amazing characteristics of watercolour painting is that there are multiple ways to achieve different effects to suit your subject matter. But sometimes, small things like hard edges in watercolour can happen when you don’t want them to.
Creating edges is one of the techniques that takes a little practice in watercolour painting.
Sometimes a piece requires really soft, feathery edges, while another piece might require hard edges. But what if hard edges happen when you don’t want them to?
First, let’s see what exactly a hard edge actually looks like.
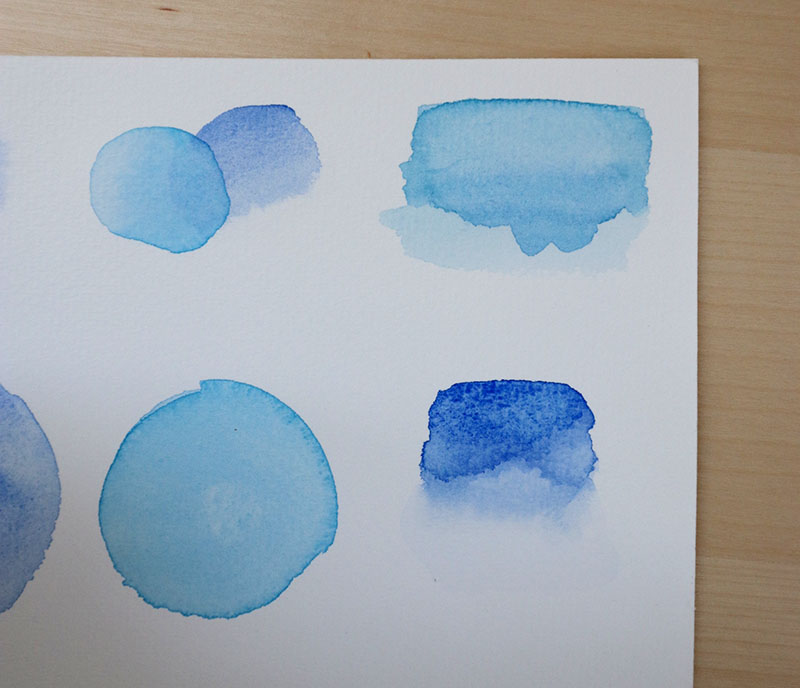
A hard edge is the edge of a painted area that has a very distinct separation from the background or layer beneath.
One way to think about hard vs. soft edges is to imagine that anything with a hard edge is placed in the foreground (in focus) and anything with a soft edge is painted in the background (more out of focus).
Here is an example of soft edges for reference:
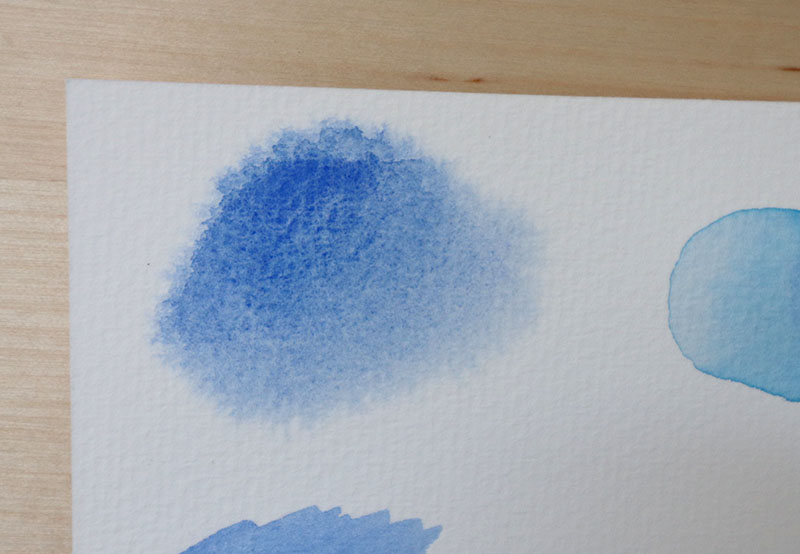
If you’re a beginner in the watercolour world, controlling your brush and the water can be a bit tricky. Sometimes a hard edge ends up in the background or an area that shouldn’t be the focus of the painting.
Hard edges in watercolour can happen because the paint was applied to a dry surface. They can also happen if your wet paint dries unevenly, causing a visually hard line.
Preventing Hard Edges
The best way to avoid hard edges in watercolour while painting is to learn how to prevent them from happening in the first place.
Use the proper amount of water
Using too much water when you mix your paint or applying too much water to your paper is a sure way to create hard edges.
When you use too much water, the paint dries unevenly. The paint that causes the hard edges is usually the last area to dry due to the amount of water used.
Your goal to achieve a nice, blended area is to make sure that you’re not using too much water. Keep in mind that there should be no puddles on your paper if you’re wetting it before applying paint. Instead, the paper should have a wet sheen to it which will allow the paint to evenly soak into the wet area.
If you’re constantly battling hard lines, try using less water in both your paint and on your paper.
Use the proper paper surface
Watercolour paper shouldn’t be overlooked. It is specially manufactured to handle water and allow your paint to evenly absorb the fibers.
If you haven’t yet, read my guide to watercolour paper.
Don’t leave your brush in one spot
Working too slowly and leaving your brush in one spot for too long will cause uneven application and hard lines.
Practice your brushstrokes and application until you feel confident enough to lay the paint down without hesitating.
How To Fix Hard Edges in Watercolour
If you’re working on a piece and hard edges have happened even after your best efforts of avoiding them, here are some ways you can fix those areas.
Soften before it dries
Your best opportunity is going to be when the paint is still wet. If you’re lucky to stop hard edges while they’re happening, you can save yourself some trouble!
One option would be to simply grab a tissue and soak up the paint. You can then re-paint the area as if it never even happened.
The other option is to grab a damp brush and softly blend out the edge while coaxing that hard edge away.
Use your wet brush to allow the paint to seep into the newly wet area.
How to soften paint after it’s dry
If you didn’t get lucky and catch the hard edge before it dried, don’t worry! You can still attempt to fix it and the majority of the time, it works pretty well!
Soften by re-wetting & layering
You’ll want to wet your brush with clean water for this method, and then gently brush the water over the entire area including the hard edge. I’m really talking about the whole area, not just the edge you want to fix.
It’s important to re-wet the entire area and not just the edge because by re-wetting just one small area, you can end up with even more hard edging or blooming as the section of new water dries on top of the previous layer.
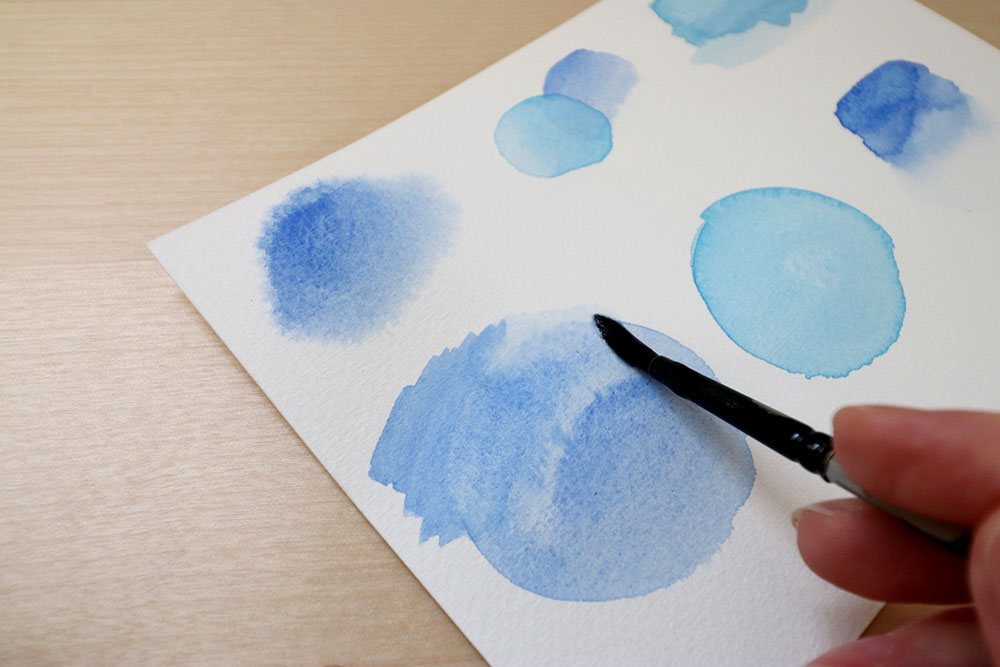
Move your brush back and forth, gently trying to re-work the paint around the wet area with water. Sometimes this works just fine with clean water and you won’t have to do anything else.
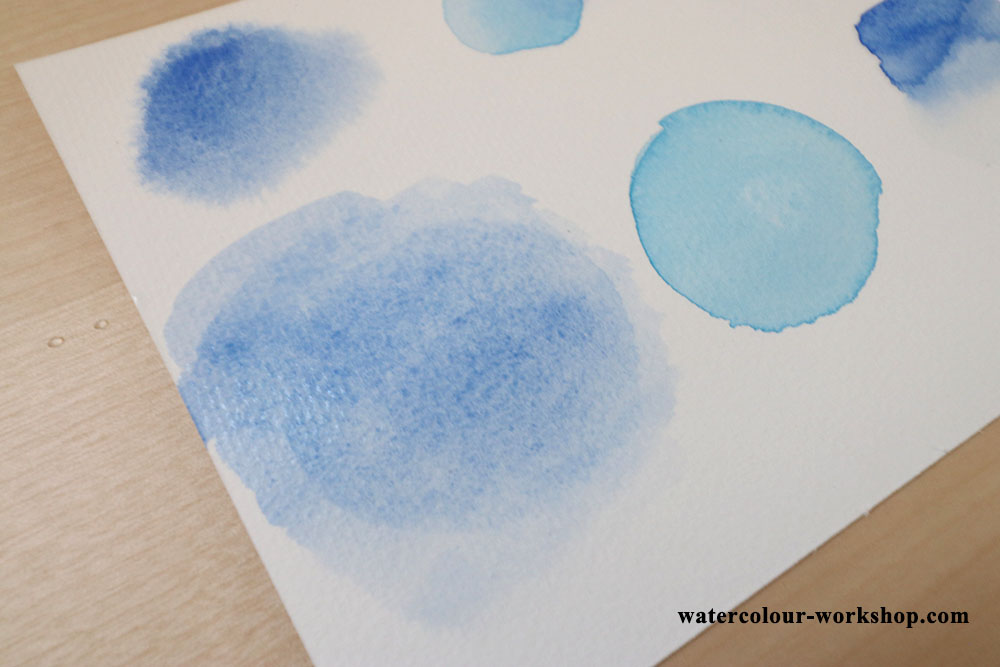
Depending on the type of paint you’ve used, you may also be able to lift off the original colour now with some tissue.
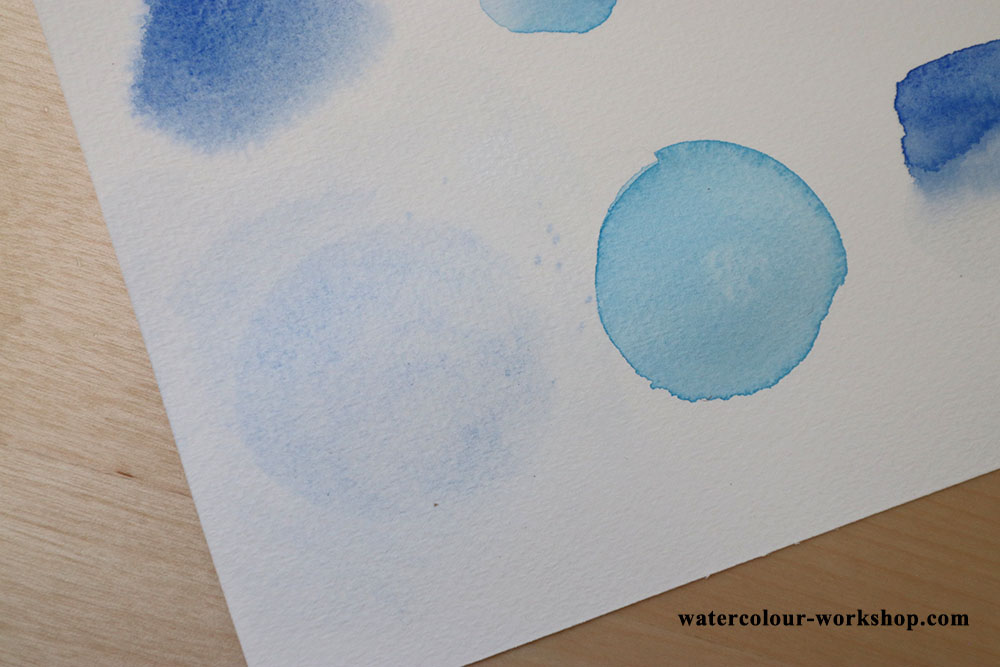
Let the wet area dry completely. If you still want to re-work this area, you can now add paint to the dry area and simply layer it on top of the original.
Things to keep in mind
Watercolour paint will only flow where the paper is wet, not beyond the edges of your dampened area. Avoiding hard edges is the best way to prevent the from happening.
The edge of the wet area is where your paint is gathering and drying. Practice creating softened edges with your brush and lifting out paint when you’ve applied too much.
By following these tips you can surely get a better handle on fixing hard edges in watercolour. And hey, sometimes it’s best to just work with the mistake than try to fix it!
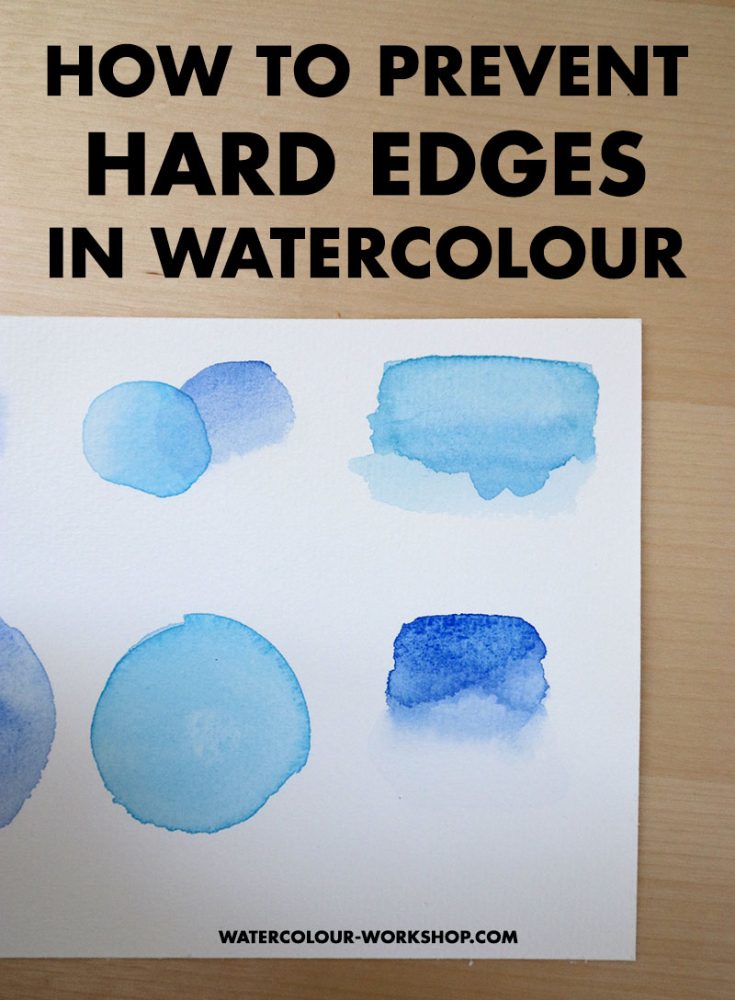
Pin this:

Besides being a wife and mama, I’m an entrepreneur, artist and author of the Watercolor With Me book series. I’m from Ontario, Canada and founder of the brand Wonder Forest. I’m here to help you on your watercolour journey!

thanks Dana for you explantio on hard edges a how to p revet them and the possible solution if they appered
Fantastic! Thank you so much for this tip. I have been getting pretty frustrated by this blooming / cauliflower effect that seems to pop up out of nowhere once my paint has dried. I will try out these fix-it techniques as well as the methods to avoid the problem in the first place. Many thanks!